How to setup OnlyOffice using docker-compose & nginx
Prerequisite: Install docker and docker-compose
For example, follow our guide How to install docker and docker-compose on Ubuntu in 30 seconds
Step 1: Create docker-compose.yml
Create the directory where we’ll install OnlyOffice using
sudo mkdir /var/lib/onlyofficeand then edit the docker-compose configuration using e.g.
sudo nano /var/lib/onlyoffice/docker-compose.ymland copy and paste this content
services:
  onlyoffice-documentserver:
    image: onlyoffice/documentserver:latest
    restart: always
    environment:
      - JWT_ENABLED=true
      - JWT_SECRET=ahSaTh4waeKe4zoocohngaihaub5pu
    ports:
      - 2291:80
    volumes:
      - ./onlyoffice/data:/var/www/onlyoffice/Data
      - ./onlyoffice/lib:/var/lib/onlyoffice
      - ./onlyoffice/logs:/var/log/onlyoffice
- ./onlyoffice/db:/var/lib/postgresqlNow add your custom password in JWT_SECRET=... ! Don’t forget this step, or anyone can use your OnlyOffice server ! I’m using pwgen 30 to generate a new random password (install using sudo apt -y install pwgen).
Step 2: Setup systemd service
Create the service using sudo nano /etc/systemd/system/onlyoffice.service:
[Unit]
Description=OnlyOffice server
Requires=docker.service
After=docker.service

[Service]
Restart=always
User=root
Group=docker
# Shutdown container (if running) when unit is stopped
ExecStartPre=/usr/local/bin/docker-compose -f /var/lib/onlyoffice/docker-compose.yml down -v
# Start container when unit is started
ExecStart=/usr/local/bin/docker-compose -f /var/lib/onlyoffice/docker-compose.yml up
# Stop container when unit is stopped
ExecStop=/usr/local/bin/docker-compose -f /var/lib/onlyoffice/docker-compose.yml down -v

[Install]
WantedBy=multi-user.targetNow enable & start the service using
sudo systemctl enable onlyoffice
sudo systemctl start onlyofficeStep 3: Create nginx reverse proxy configuration
Note that we mapped OnlyOffice’s port 80 to port 2291. In case you’re not using nginx as reverse proxy, you need to manually configure your reverse proxy to pass requests to port 2291.
server {
  server_name onlyoffice.mydomain.org;

  access_log /var/log/nginx/onlyoffice.access_log;
  error_log /var/log/nginx/onlyoffice.error_log info;

  location / {
    proxy_pass http://127.0.0.1:2291;
    proxy_http_version 1.1;
    proxy_read_timeout 3600s;
    proxy_set_header Upgrade $http_upgrade;
    proxy_set_header Connection "Upgrade";
    proxy_set_header Host            $host;
    proxy_set_header X-Forwarded-For $remote_addr;
    proxy_set_header X-Forwarded-Proto $scheme;
    add_header X-Frontend-Host $host;
    # Uncomment this line and reload once you have setup TLS for that domain !
    # add_header Strict-Transport-Security "max-age=31536000; includeSubDomains" always;
  }

  listen 80;
}Now test if your nginx config works using nginx -t and reload using service nginx reload.
Now I recommend to setup Let’s Encrypt for your domain so that your OnlyOffice instance will only be accessed using an encrypted connecting (sudo certbot --nginx, see other guides if you don’t know how to do that).
Once certbot asks you whether to redirect, choose option 2 - Redirect to HTTPS.
Step 4: Test OnlyOffice
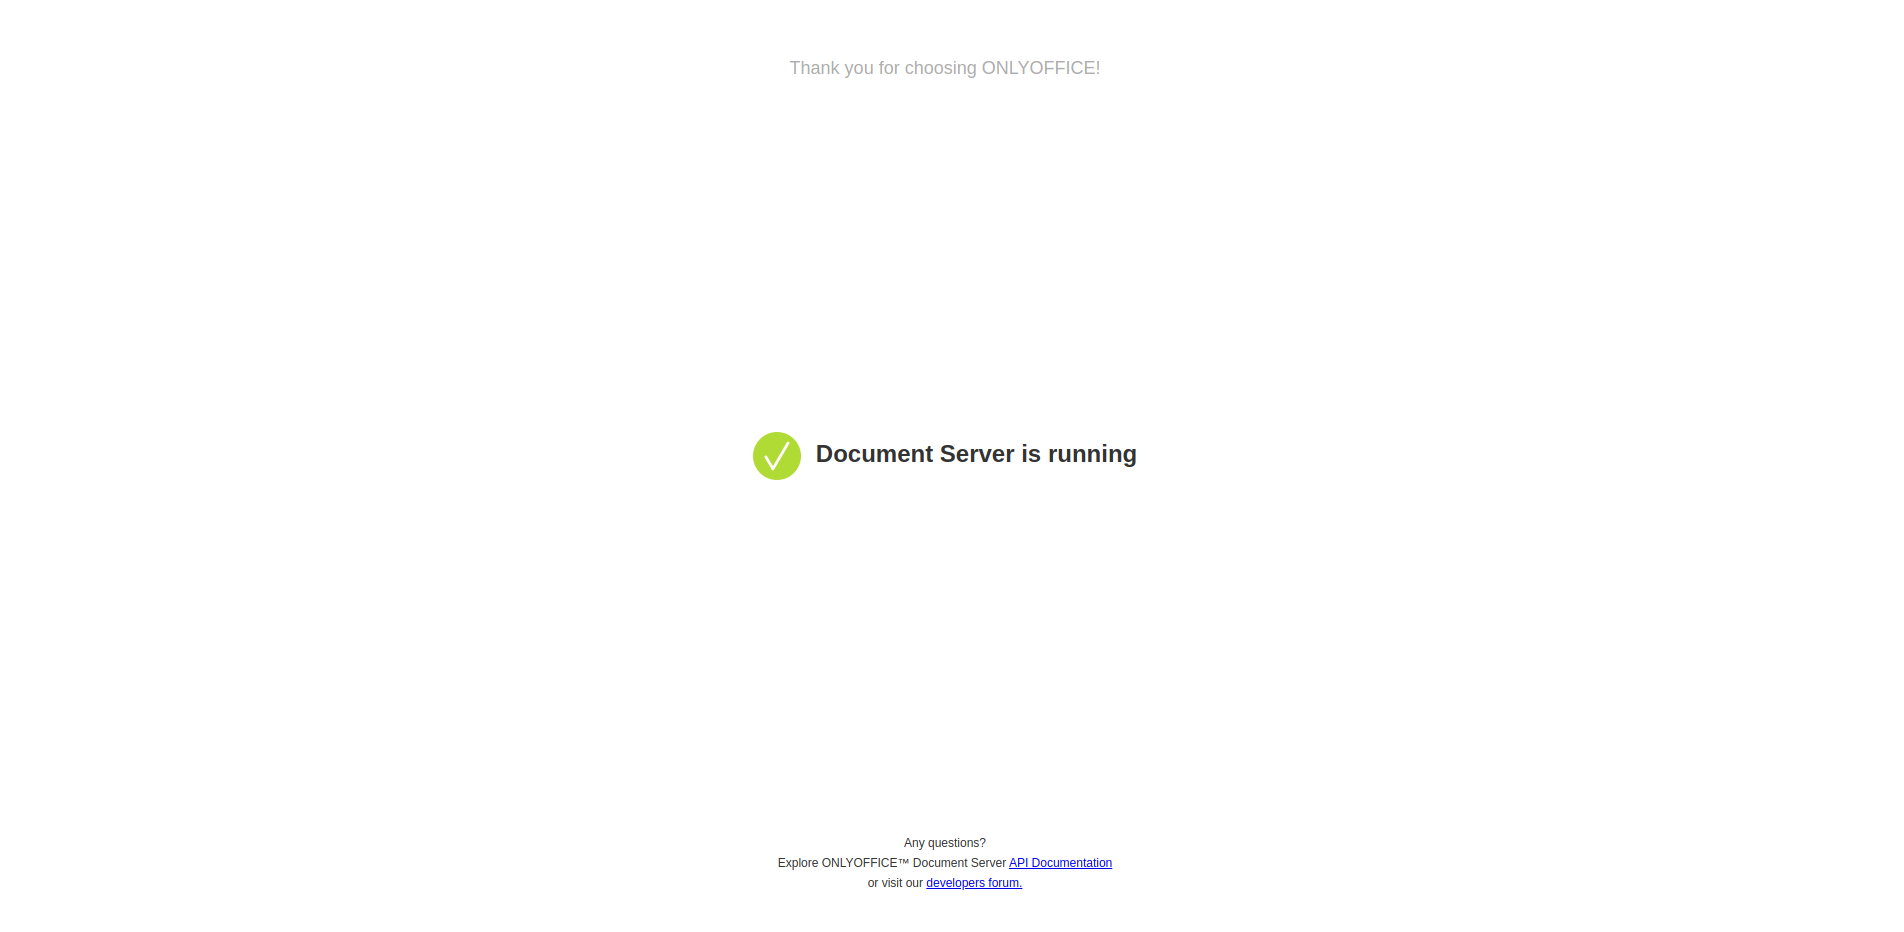
If your installation worked, you should see a screen like this:

If not, try checking the logs using
sudo journalctl -xu onlyoffice(Optional) Step 5: Configure NextCloud to use OnlyOffice
If you are running NextCloud, go to Settings => ONLYOFFICE and enter your domain and the JWT_SECRET you created before:

Ensure that Connect to demo ONLYOFFICE Document Server is unchecked and click Save.
Nextcloud will tell you at the top right if it has been able to connect to your OnlyOffice instance successfully:
Settings successfully updatedmeans that NextCloud is now connected to OnlyOfficeInvalid tokenmeans that your password / secret key does not match- Other messages typically mean that your OnlyOffice is not running or that you haven’t entered the correct domain or protocol. I recommend to only use
https://- usehttp://for testing only and don’t forget to revert back tohttps://once you have found the issue.