
How should the SPI SCLK look on the oscilloscope?
SPI is typically used at 1-20MHz clock frequency. Start with setting the oscilloscope to 2 microseconds per division and 2V per division. Hence, set your scope. Set the trigger to edge mode to trigger at half the supply voltage (e.g. 1.65V for 3.3V supply voltage).The following example is SPI running at 1 MHz on a supply of 3.3V:
Always start by measuring SCLK, to verify both a valid signal clock and your measurement setup. The signal should always look like this:
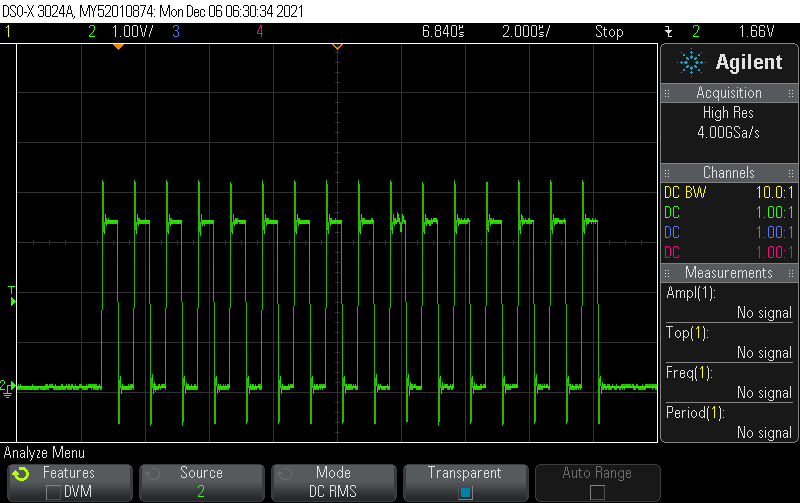
The first aspect to verify here is that the SCLK should be mostly symmetric (50% duty cycle) and running continously throughout each SPI data transfer. The frequency should typically not change during a single SPI transfer.
SPI tolerates a significant amount of overshoot. In case you have signal integrity issues, you can typically just reduce the clock speed. In order to have a closer look on the signal integrity aspects, zoom in so you see just one clock cycle.
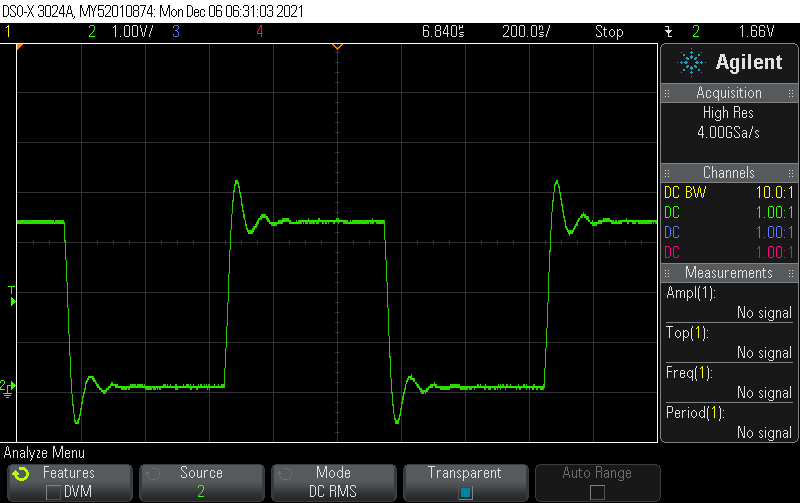
The amount of overshoot you see in our example is totally fine. What you should look for here is that both the rising and falling edge should be reasonably sharp and the 0 and 1 bits should be clearly visible.
Regarding overshoot/undershoot, a good rule of thumb is that during the 1 bit, the voltage should never be less than 0.8 times the steady-state voltage during the one bit (see below for red and blue markers):

Similarly, during the 0 bit, the voltage should never be less than 0.2 times the steady-state voltage during the one bit
Note that not only does your PCB affect the signal integrity - your measurement setup (oscilloscope & probe) affects them to some extent as well.