How to setup bup-server on Synology NAS using docker
This guide shows you how to create a bup server. This is based on our previous post How to setup a “bup remote” server in 5 minutes using docker-compose but uses Synology’s built-in Docker GUI instead of docker-compose.
First, create two shared directories bup-backups (which will store the backups itself) and bup-config )which will store the dropbear SSH server configuration, that is SSH host keys and authorized client keys).
Alternatively, you can also use sub-directories of existing shared directories, but I’d like to keep them separate.
Then create a new Docker container by opening Docker -> Container, clicking Create and follow these steps:
Download ulikoehler/bup-server:lastest
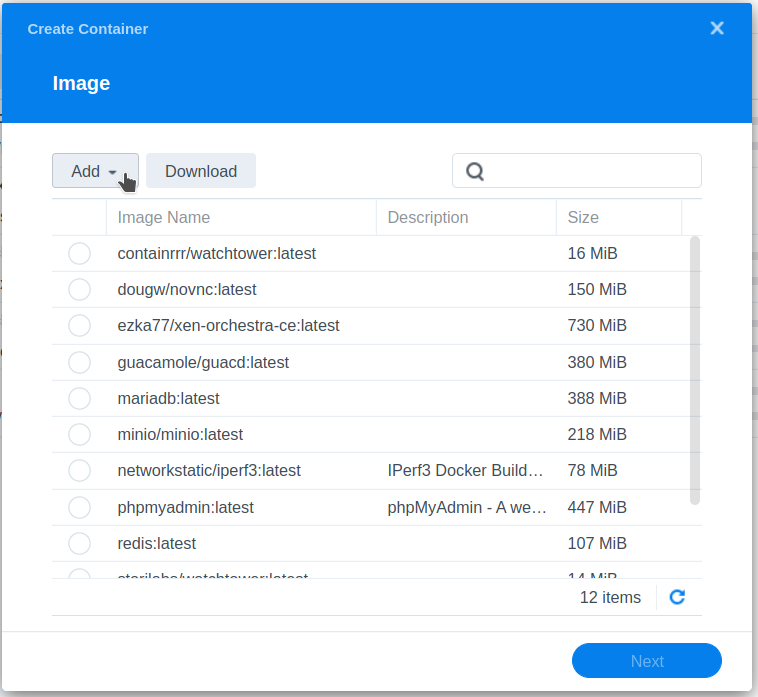
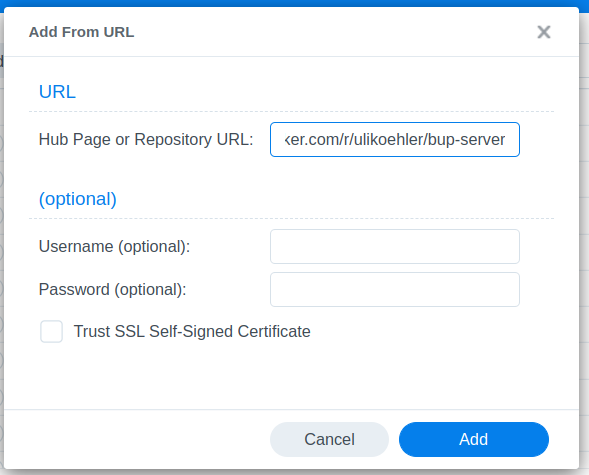
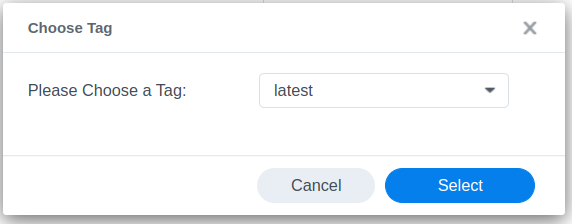

Create a new container from the image
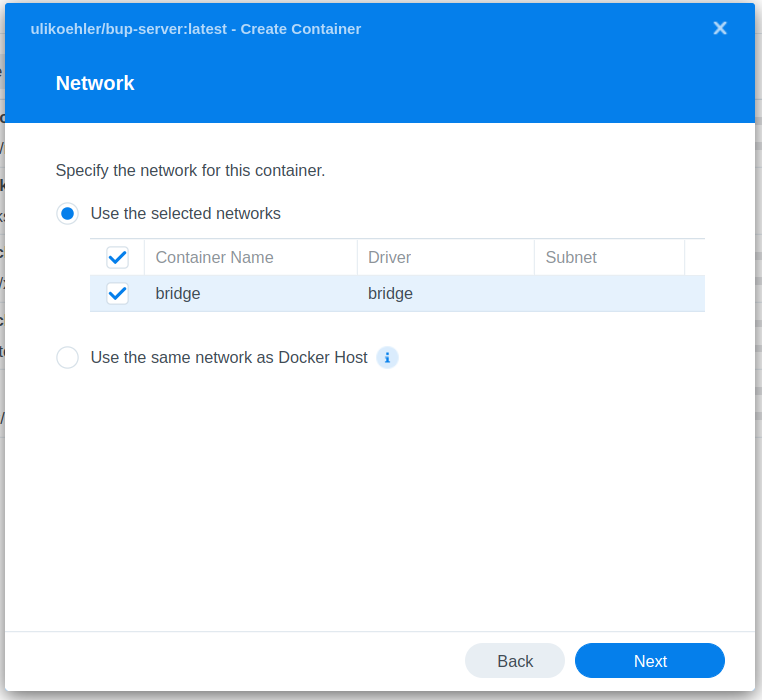
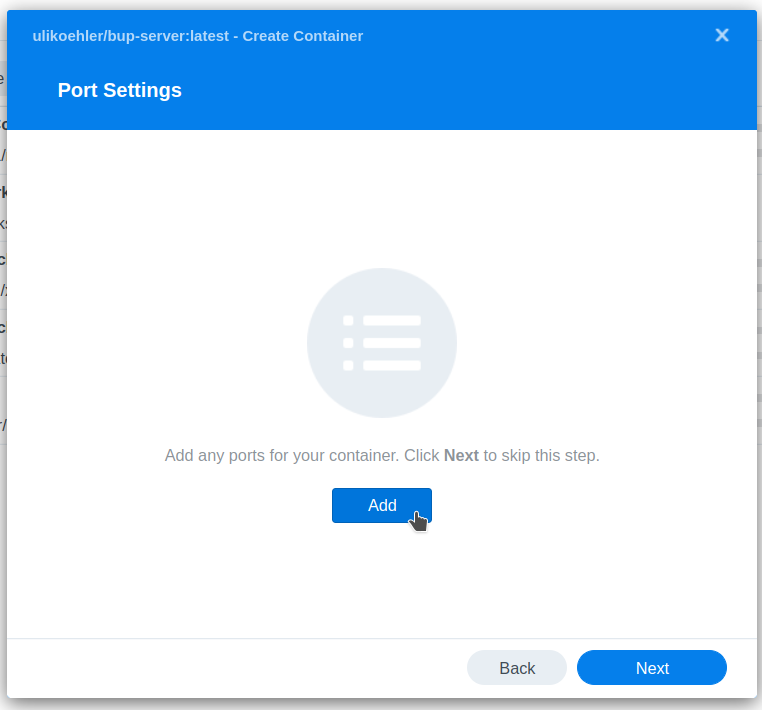
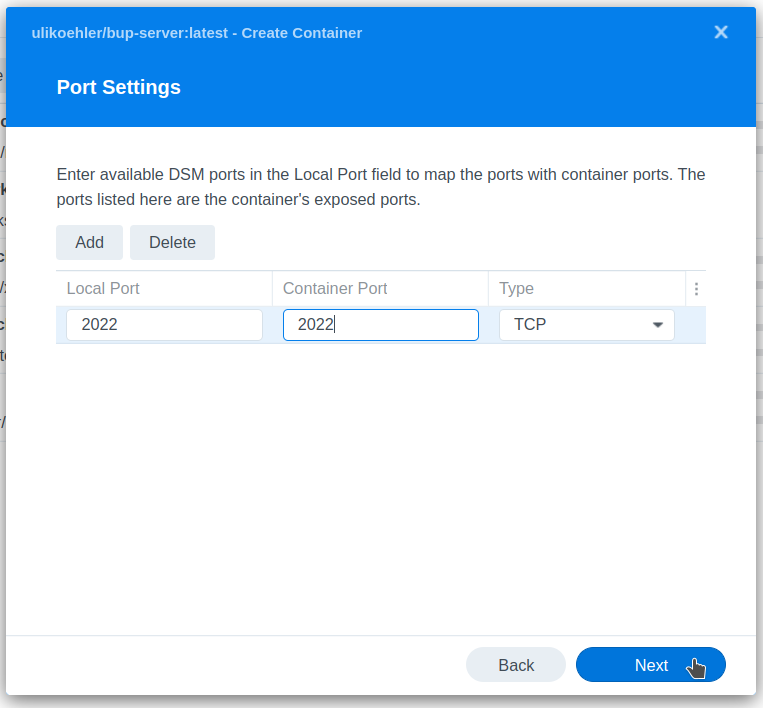
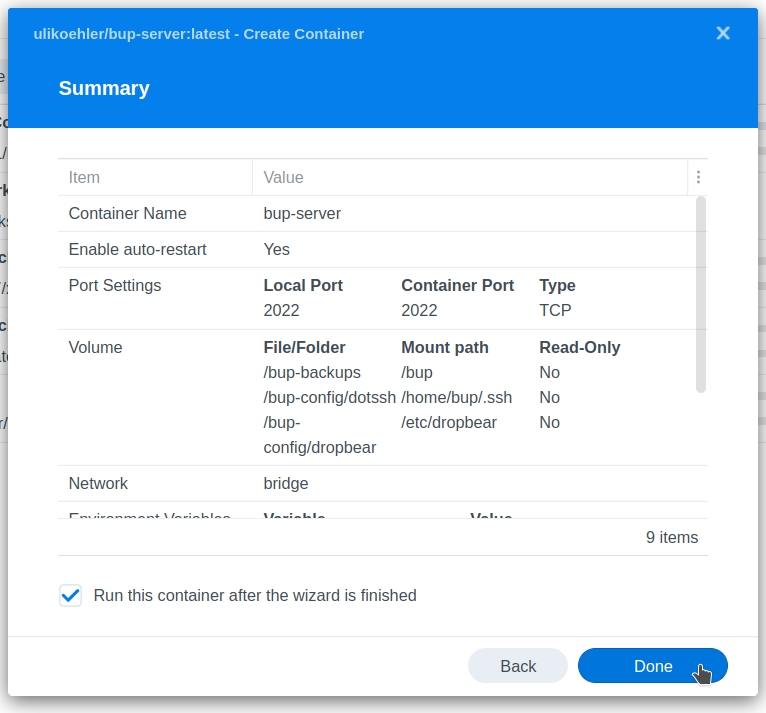
Map out port 2022 (bup server SSH port)
You can choose any other port in Local Port but keep the Container Port the same.
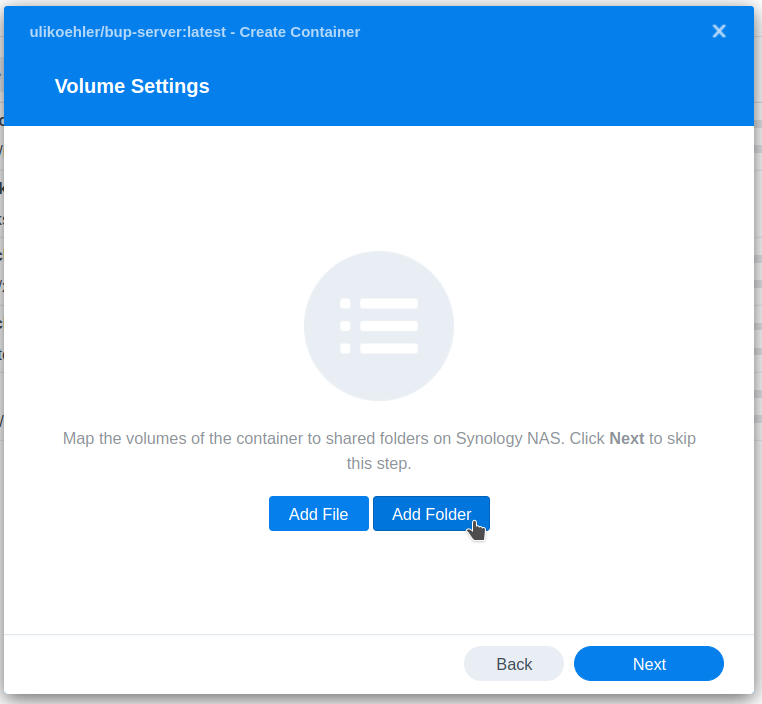
Map the volumes
As we said before, any directory will do. Create the sub-directories as needed.
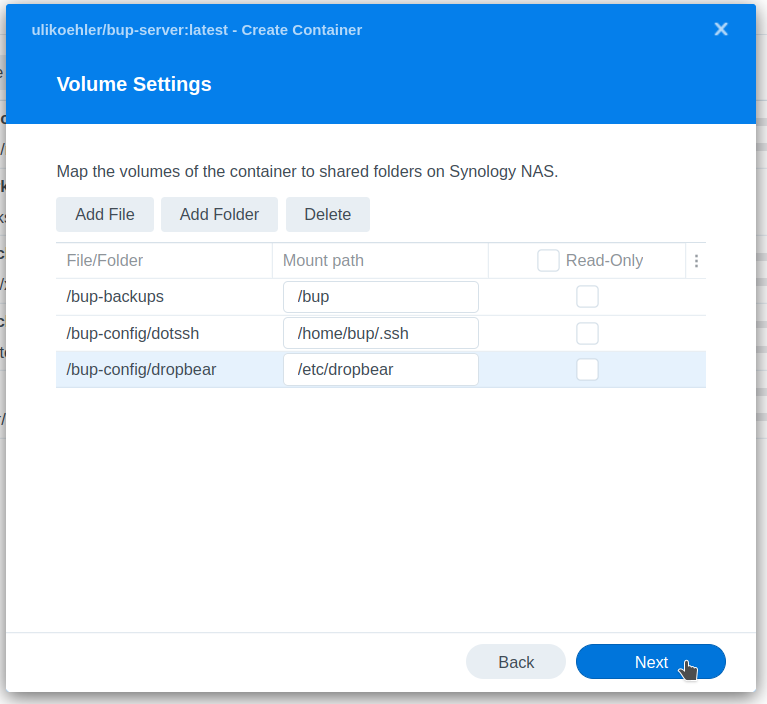
 Creating the SSH keys
On your local linux computer, create a SSH key using
ssh-keygen -t ed25519 -f id_bup -N ""Upload id_bup and id_bup.pub to the bup-config shared folder.
Furthermore, copy id_pub.pub to bup-config/dotssh/authorized_keys.
After that you can startup the container.
Test the login
Use
ssh -i id_bup -p 2022 bup@[AS IP address]to try to connect to your NAS.
Troubleshooting
In case connecting via SSH does not work, most likely the issue is with your public/private key and/or your authorized_keys file. Check if it is in the right directory (/home/bup/.ssh/authorized_keys on the container). Also check the logs of the Docker container.