
How to create a access token in Gitea
As of 2025-12, Gitea only supports creating access token for users, not directly for repositories.
Here’s how to create it:
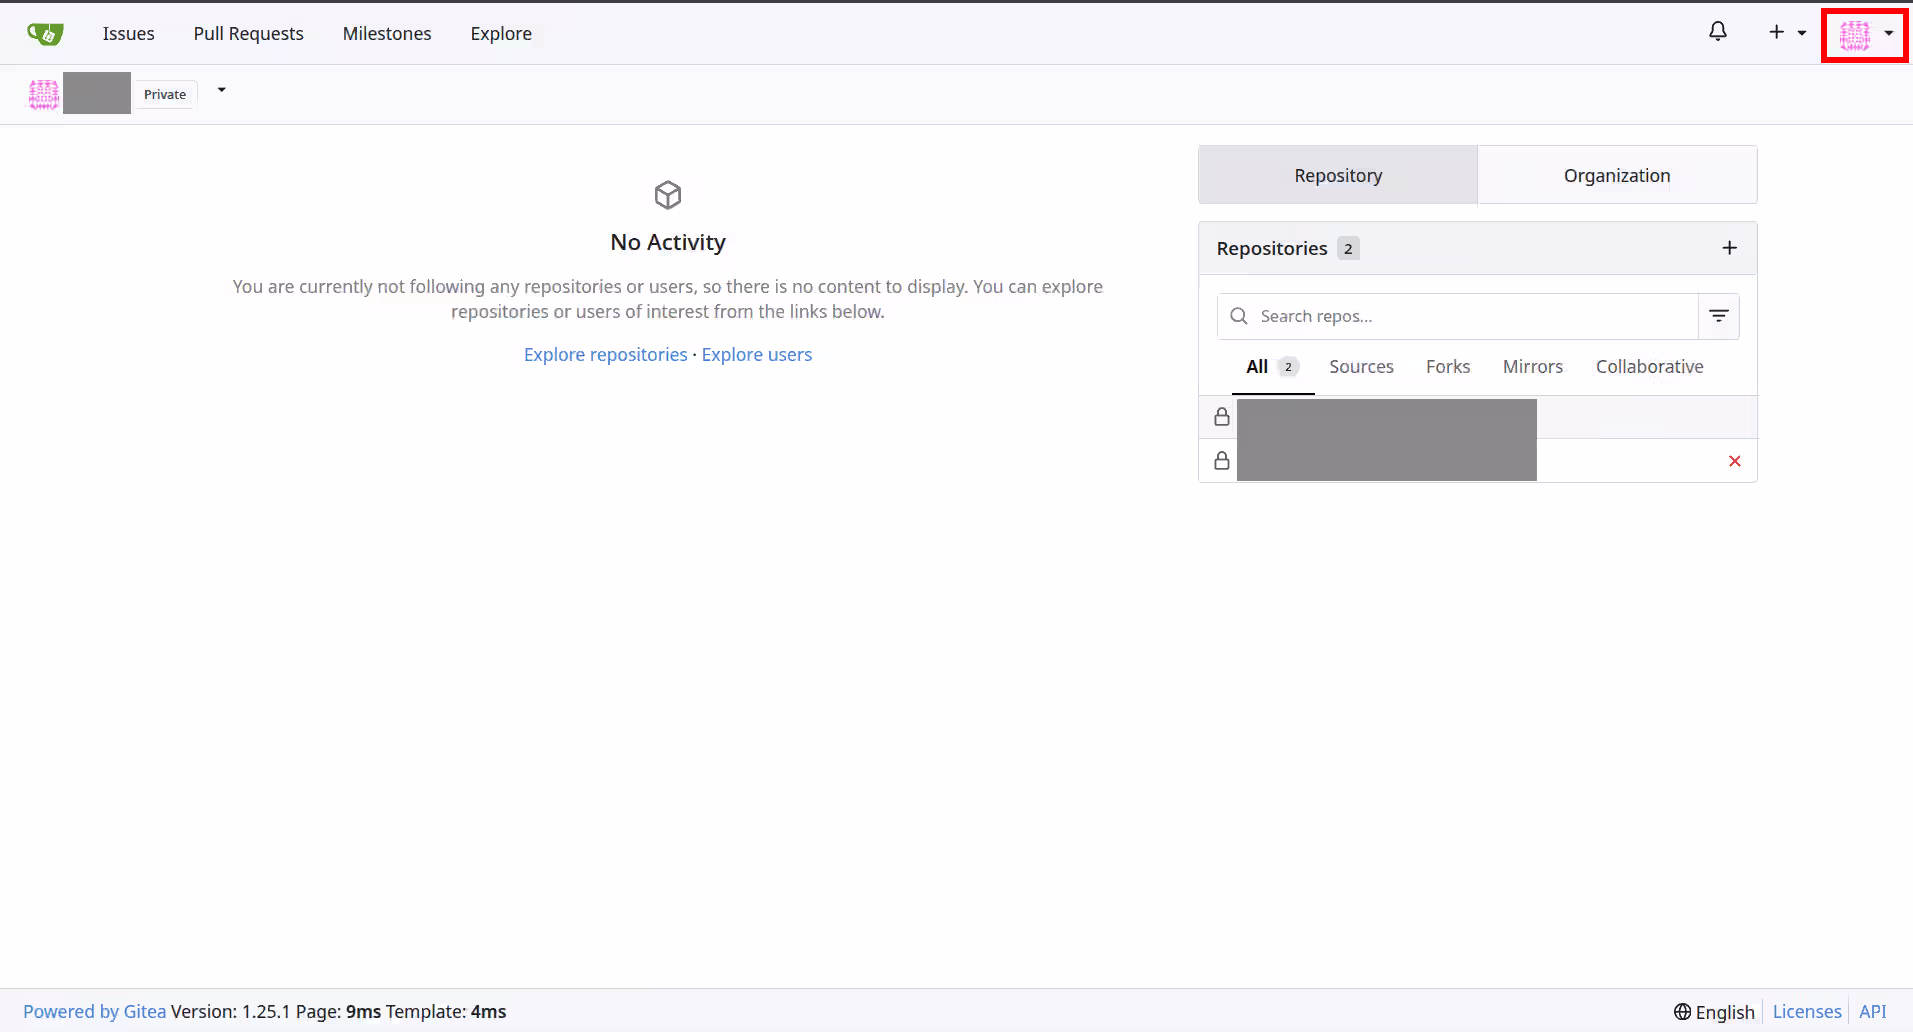
First, click on the user icon on the top right of the Gitea web interface (it might look different for your user):
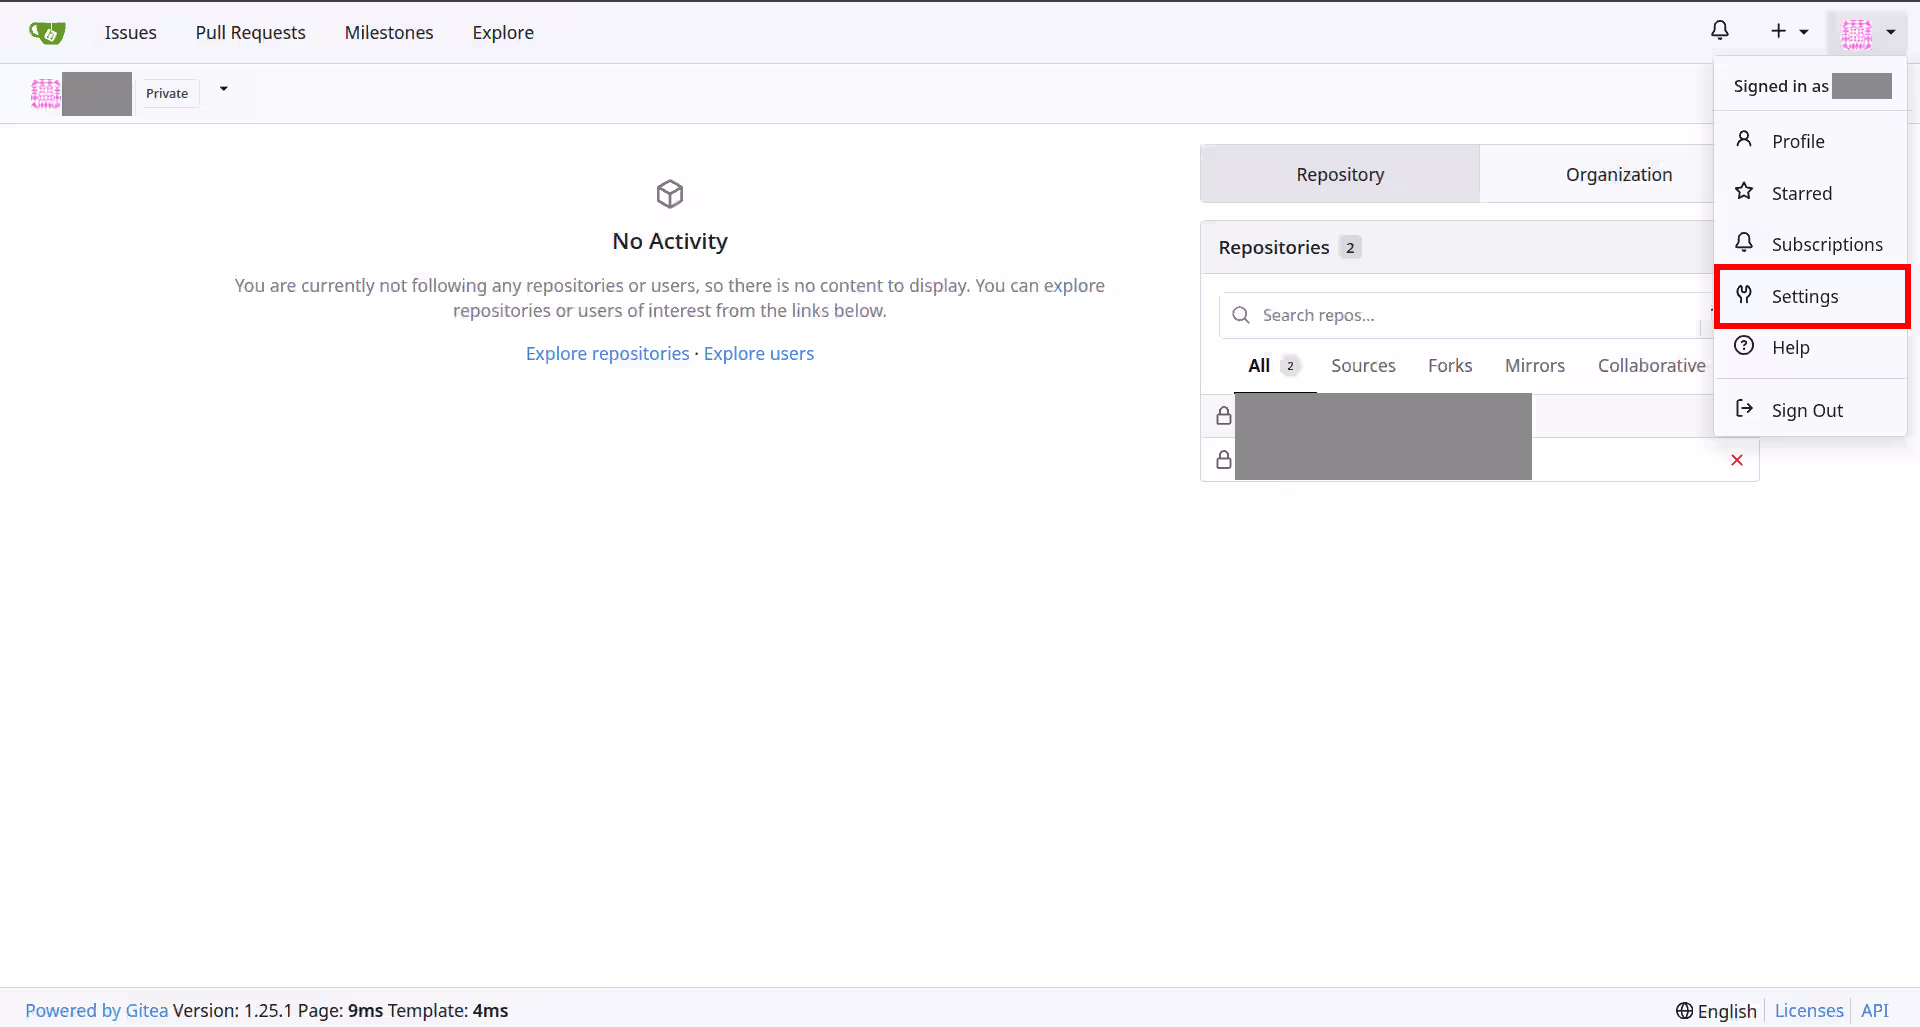
Now, click on “Settings” in the dropdown menu:
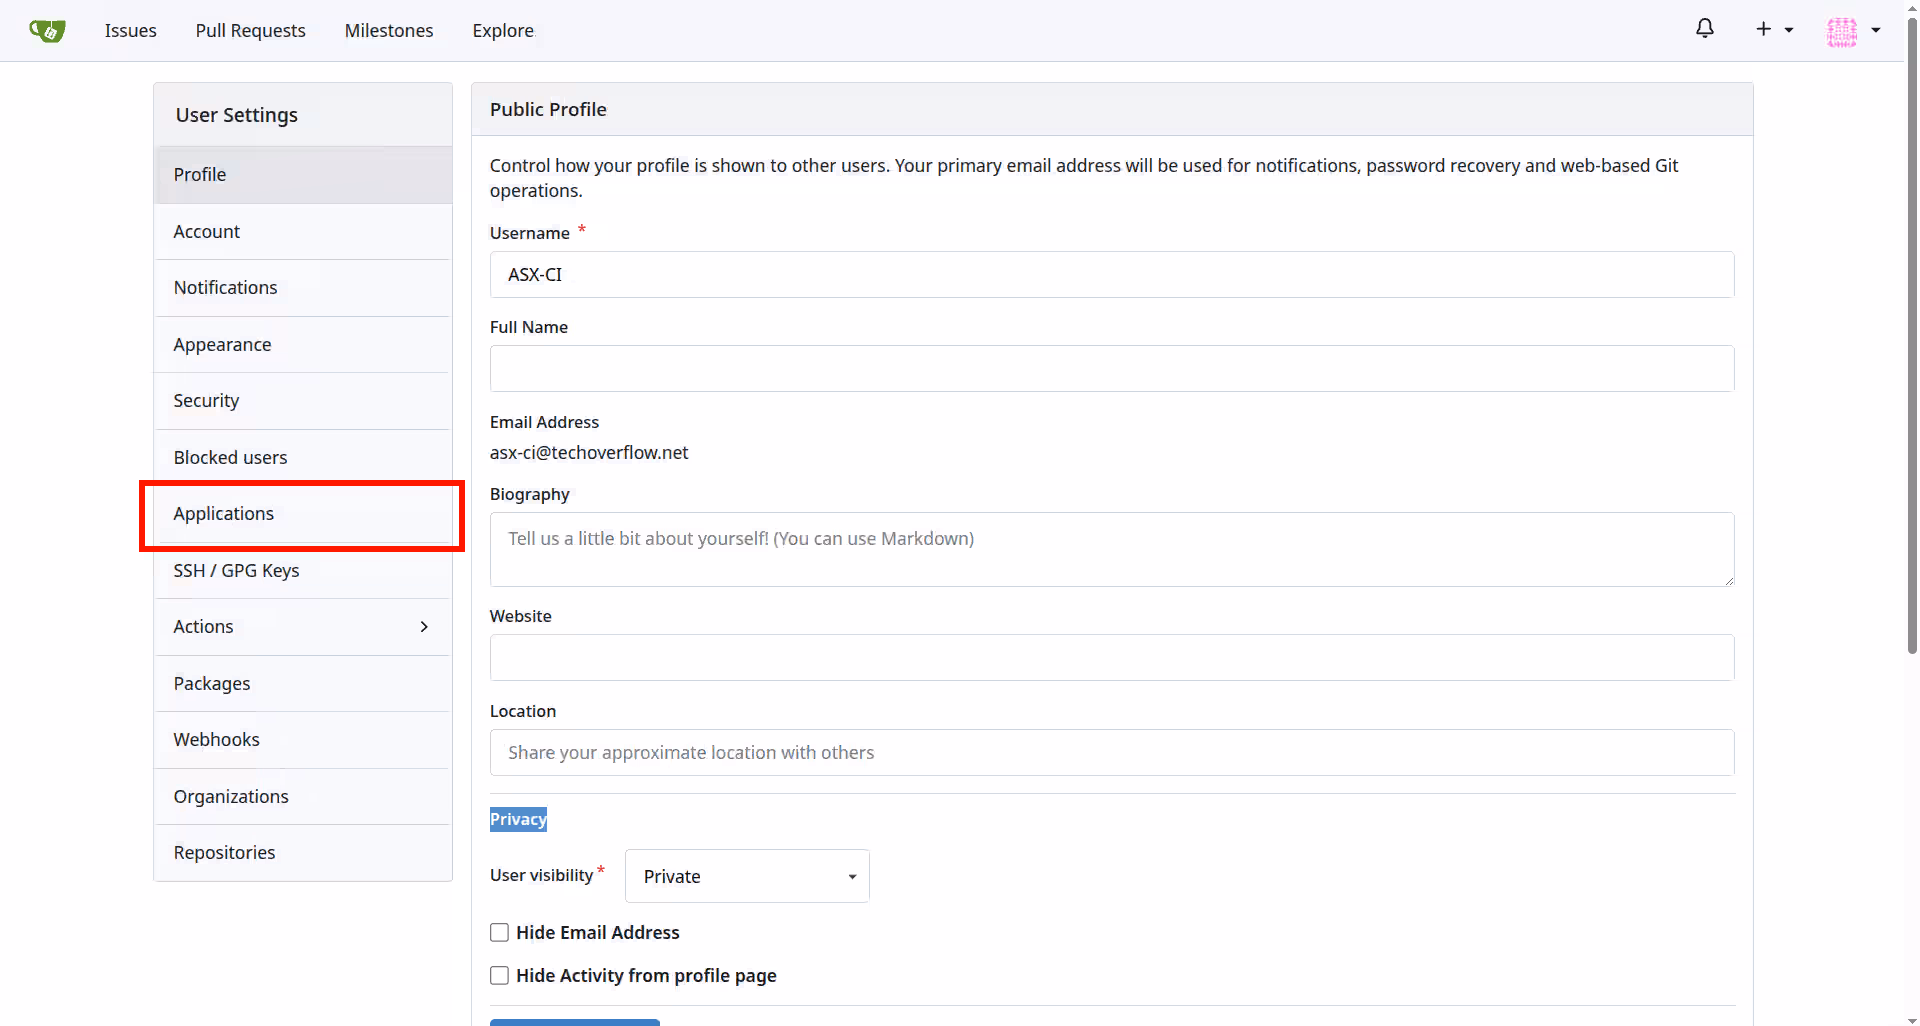
Now, click on “Applications” in the left sidebar:
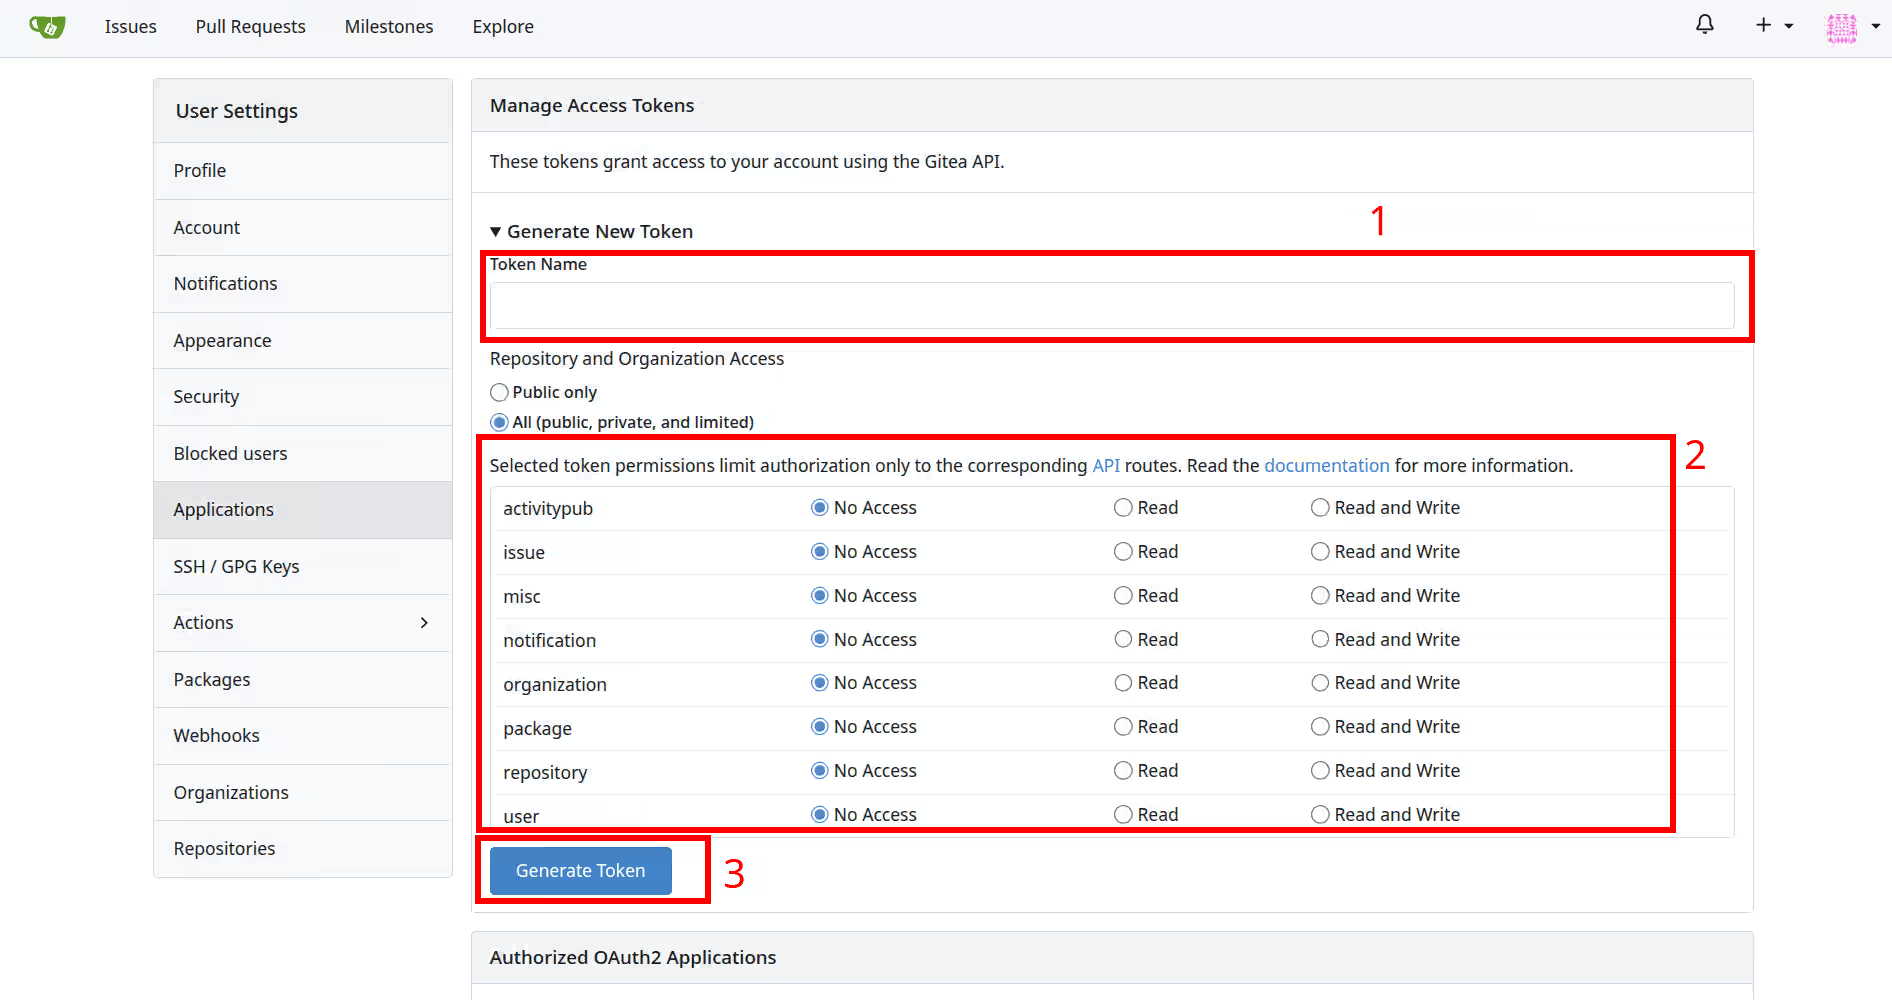
Now, you can enter the following details to create a new access token:
- Enter a name for the token, e.g.
My notebook. You can choose any name you like to identify the token later. - Select the desired scopes for the token. Very often, you want to select
ReadorRead & writein therepositoryrow and leave everything else asNo access. - Click on the “Generate Token” button.
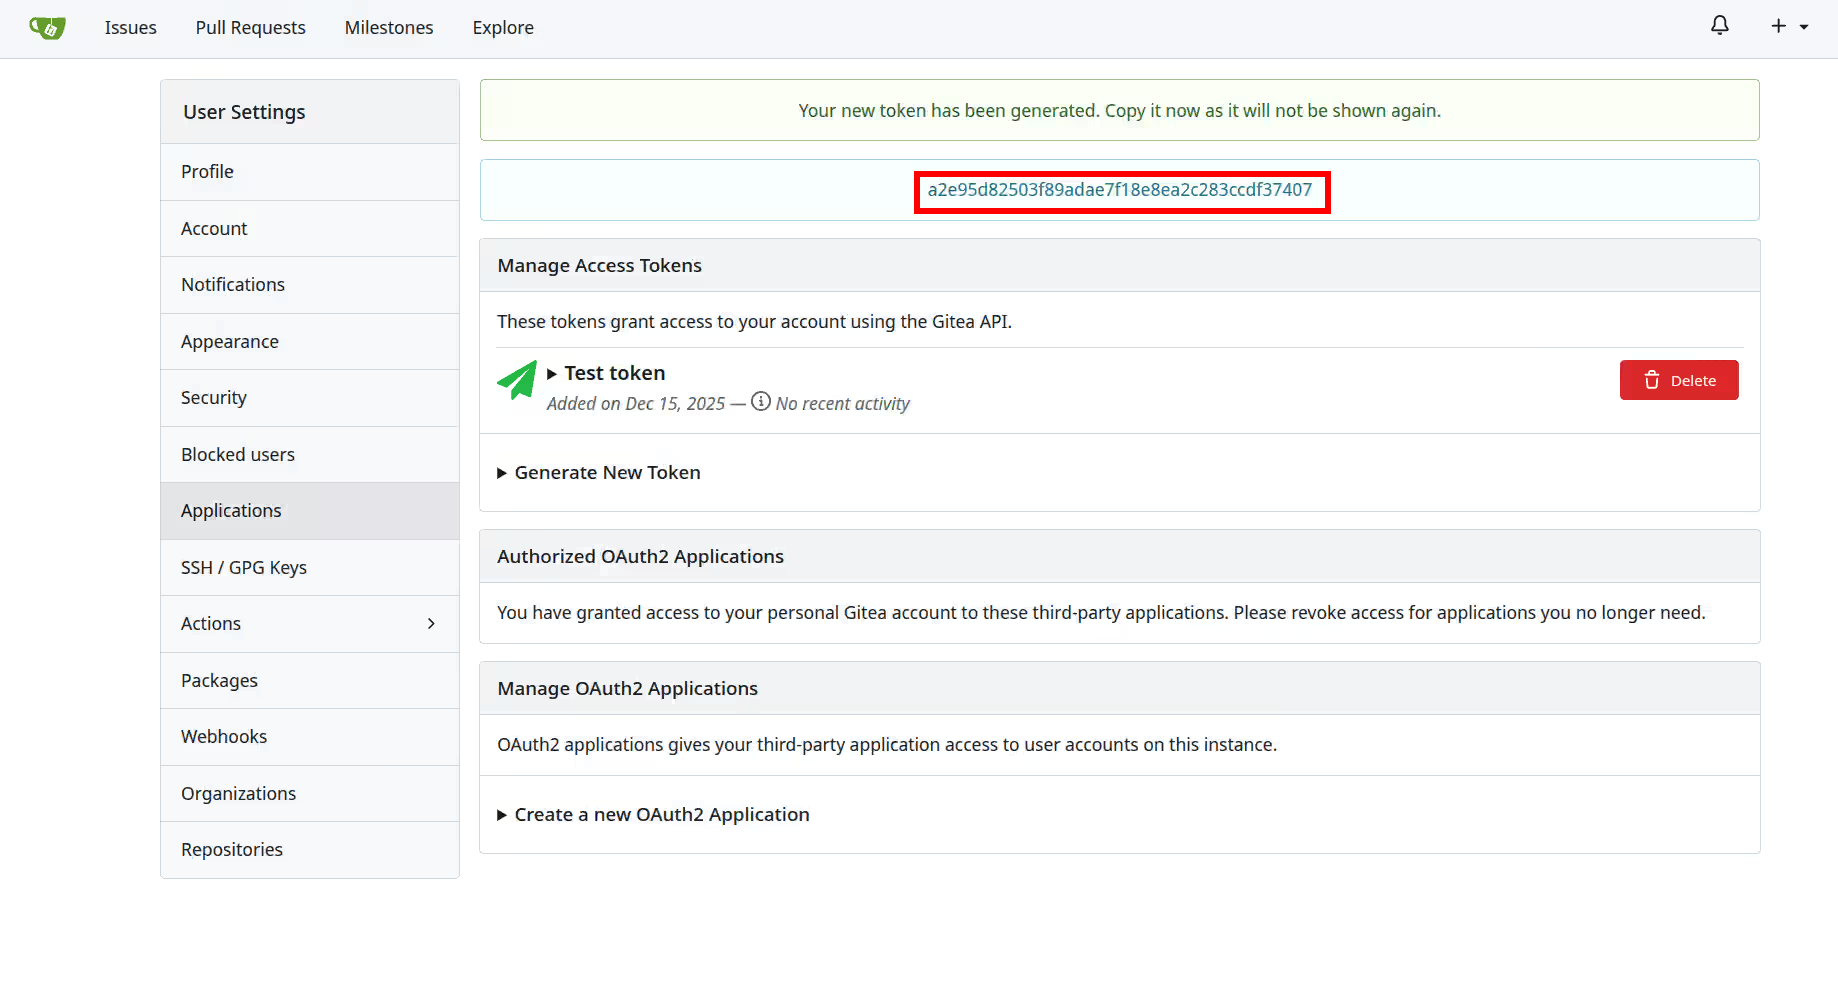
Now Gitea will generate a new access token for you. Make sure to copy the token now and store it somewhere together with the name of the token (e.g. My notebook, or Test token as in the screenshot), as you won’t be able to see it again later!
If this post helped you, please consider buying me a coffee or donating via PayPal to support research & publishing of new posts on TechOverflow