The bup backup system implements remote backup on a server by connecting via SSH to said server, starting a bup process there and then communicating via the SSH tunnel.
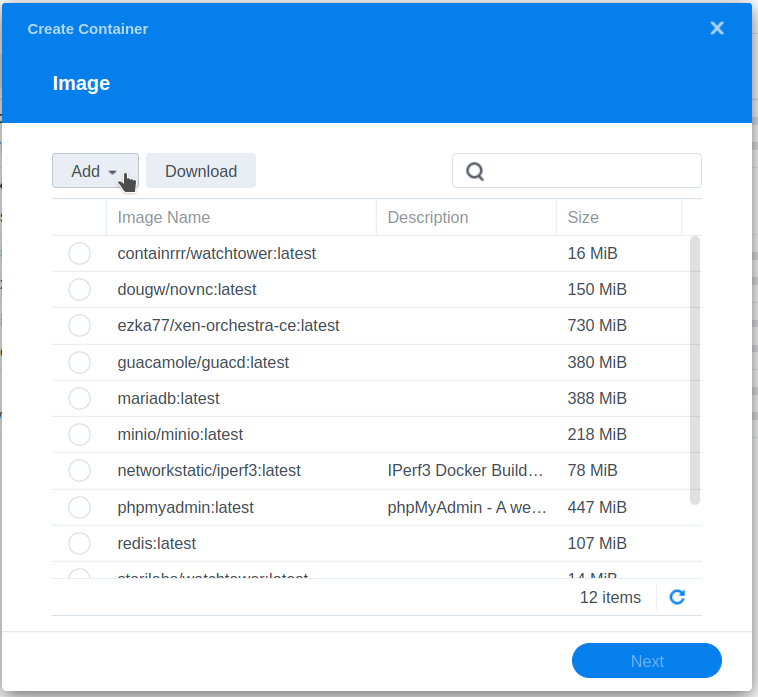
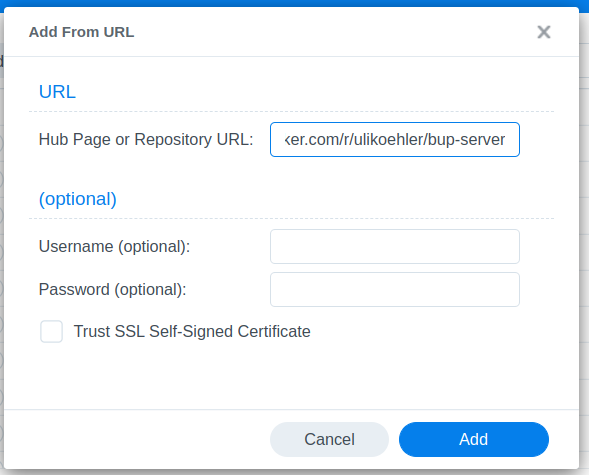
In this post, we’ll setup a server for bup remote backup based on our ulikoehler/bup-server image (which contains both bup and dropbear as an SSH server).
1. Initialize the directory structure & create SSH keyset to access the server
I recommend doing this in /opt/bup, but in principle, any directory will do.
mkdir -p dotssh bup
# Generate new elliptic curve public key
ssh-keygen -t ed25519 -f id_bup -N ""
# Add SSH key to list of authorized keys
cat id_bup.pub | sudo tee -a dotssh/authorized_keys
# Fix permissions so that dropbear does not complain
sudo chown -R 1111:1111 bup
sudo chmod 0600 dotssh/authorized_keys
sudo chmod 0700 dotssh
1111 is the user ID of the bup user in the VM.
2. Create docker-compose.yml
Note: This docker-compose.yml uses a local backup directory – you can also mount a CIFS directory from e.g. a NAS device. See bup remote server docker-compose config with CIFS-mounted backup store for more details.
version: "3.8"
services:
bup-server:
image: ulikoehler/bup-server:latest
environment:
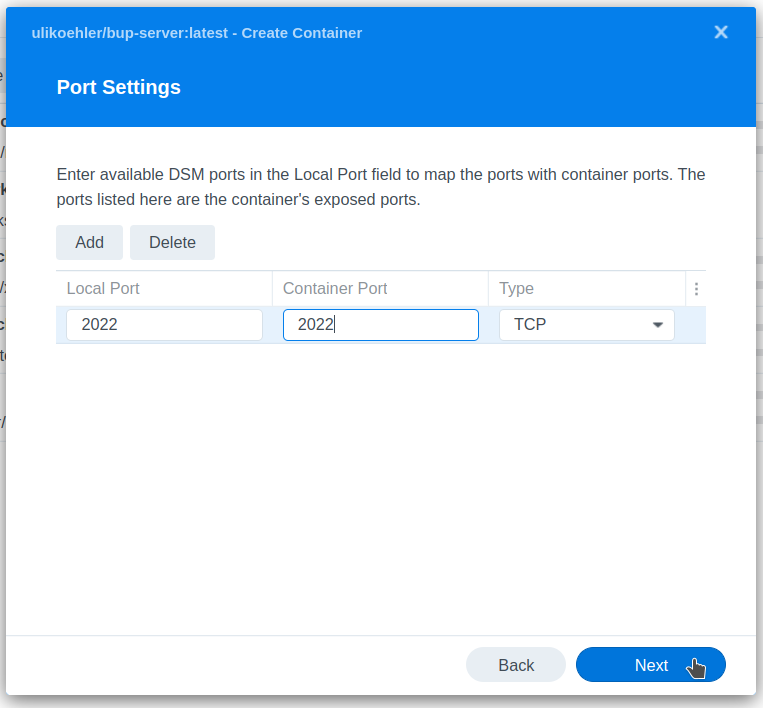
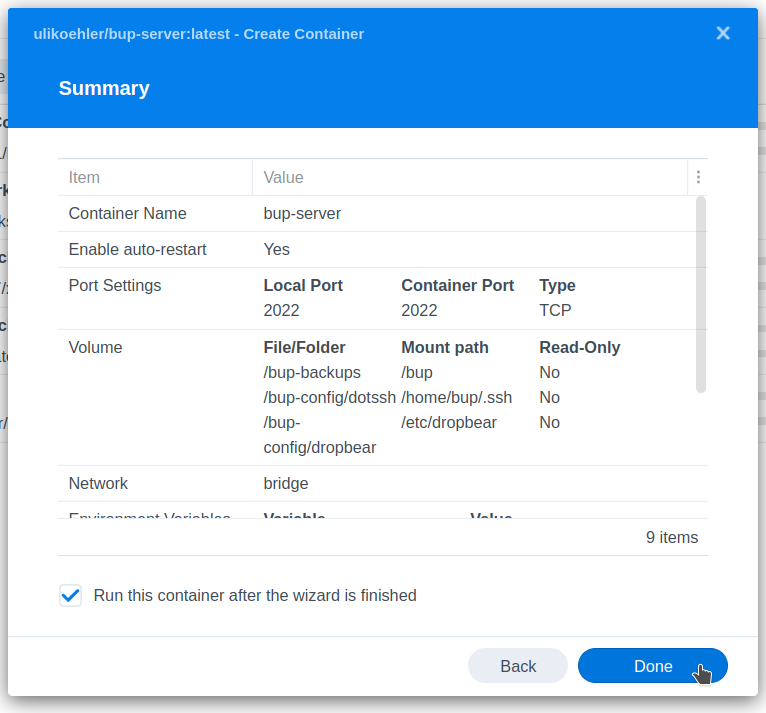
- SSH_PORT=2022
volumes:
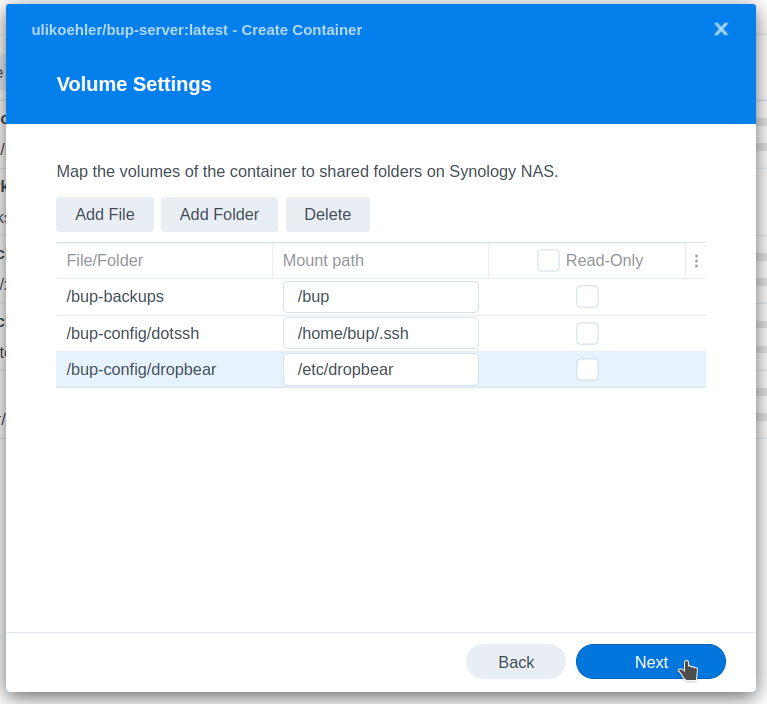
- ./dotssh:/home/bup/.ssh
- ./dropbear:/etc/dropbear
# BUP backup storage:
- ./bup:/bup
ports:
- 2022:2022
restart: unless-stopped3. Startup the container
At this point, you can use docker-compose up to startup the service. However, it’s typically easier to just use TechOverflow’s script to generate a systemd script to autostart the service on boot (and start it right now):
curl -fsSL https://techoverflow.net/scripts/create-docker-compose-service.sh | sudo bash /dev/stdin
When you run docker-compose logs -f, you should see a greeting message from dropbear such as
bupremotedocker-bup-remote-1 | [1] Dec 25 14:58:20 Not backgrounding
4. Create a .ssh/config entry on the client
You need to do this for each client.
Copy id_bup (which we generated earlier) to each client into a folder such as ~/.ssh. Where you copy it does not matter, but the user who will be running the backups later will need access to this file. Also, for that user you need to create a .ssh/config entry telling SSH how to access the bup server:
Host BupServer
    HostName 10.1.2.3
    User bup
    Port 2022
    IdentityFile ~/.ssh/id_bup
Set HostName to the IP or domain name of the host running the docker container.
Set User to bup. This is hard-coded in the container.
Set Port to whatever port you mapped out in docker-compose.yml. If the ports: line in docker-compose.ymlis - 1234:2022, the correct value for Port in .ssh/config is 1234.
Set IdentityFile to whereever id_bup is located (see above).
Now you need to connect to the bup server container once for each client. This is both to spot issues with your SSH configuration (such as wrong permissions on the id_bup file) and to save the SSH host key of the container as known key:
ssh BupServer
If this prompts you for a password, something is wrong in your configuration – possibly, your are connecting to the wrong SSH host since the bup server container has password authentication disabled.
5. Connect using bup
Every client will need bup to be installed. See How to install bup on Ubuntu 22.04 and similar posts.
You have to understand that bup will need both a local directory (called the index) and a directory on the bup server called destination directory. You have to use one index directory and one destination directory per backup project. What you define as backup project is up to you, but I strongly recommend to use one backup project per application you backup, in order to have data locality: Backups from one application belong together.
By convention, the /bup directory on the server (i.e. container) is dedicated for this purpose (and mapped to a directory or volume outside of the container).
On the local host, I recommend using either /var/lib/bup/project.index.bup or ~/bup/project.index.bup and let bup auto-create project-specific directories from there. If you use a special user on the client to do backups, you can also place the indexes. If the index is lost, this is not an issue as long as the backup works (it just will take a few minutes to check all files again). You should not backup the index directory.
There is no requirement for the .bup or .index.bup suffix but if you use it, it will allow you to quickly discern what a directory is and whether it is important or nor.
In order to use bup, you first need to initialize the directories. You can do this multiple times without any issue, so I do it at the start of each of my backup scripts.
bup -d ~/buptest.index.bup init -r BupServer:/bup/buptest.bup
After that, you can start backing up. Generally this is done by first running bup index (this operation is local-only) and then running bup save (which saves the backup on the bup remote server).
bup -d ~/buptest.index.bup index . && bup save -r BupServer:/bup/buptest.bup -9 --strip-path $(pwd) -n mybackup .
Some parameters demand further explanation:
-9: Maximum compression. bup is so fast that it hardly makes a difference but it saves a ton of disk space especially for text-like data.--strip-path $(pwd) If you backup a directory /home/uli/Documents/ with a file /home/uli/Documents/Letters/Myletter.txt this makes bup save the backup of said file under the name Letters/Myletter.txt instead of /home/uli/Documents/Letters/Myletter.txt.-n mybackup. The name of this backup. This allows you to separate different backups in a single repository.
6. Let’s restore!
You might want to say hopefully I’ll never need to restore. WRONG. You need to restore right now, and you need to restore regularly, as a test that if you actually need to recover data by restoring, it will actually work.
In order to do this, we’ll first need to get access to the folder where. This is typically stored on some kind of Linux server anyway, so just install bup there. In our example above, the directory we’ll work with is called buptest.bup.
There are two conventient ways to view bup backups:
- Use
bup web and open your browser at http://localhost:8080 to view the backup data (including history):bup -d buptest.bup web
- Use
bup fuse to mount the entire tree including history to a directory such as /tmp/buptest:mkdir -p /tmp/buptest && bup -d buptest.bup fuse /tmp/buptest