
使用 Adafruit ST7735 的最小 ESP32 PlatformIO TFT 显示示例
此示例代码适用于 KMR-1.8 SPI 显示器(128x160px),提供了使用 Adafruit-ST7735 库反复在黑色和白色之间切换屏幕的最小示例。你可以用此来检查硬件是否正常工作。
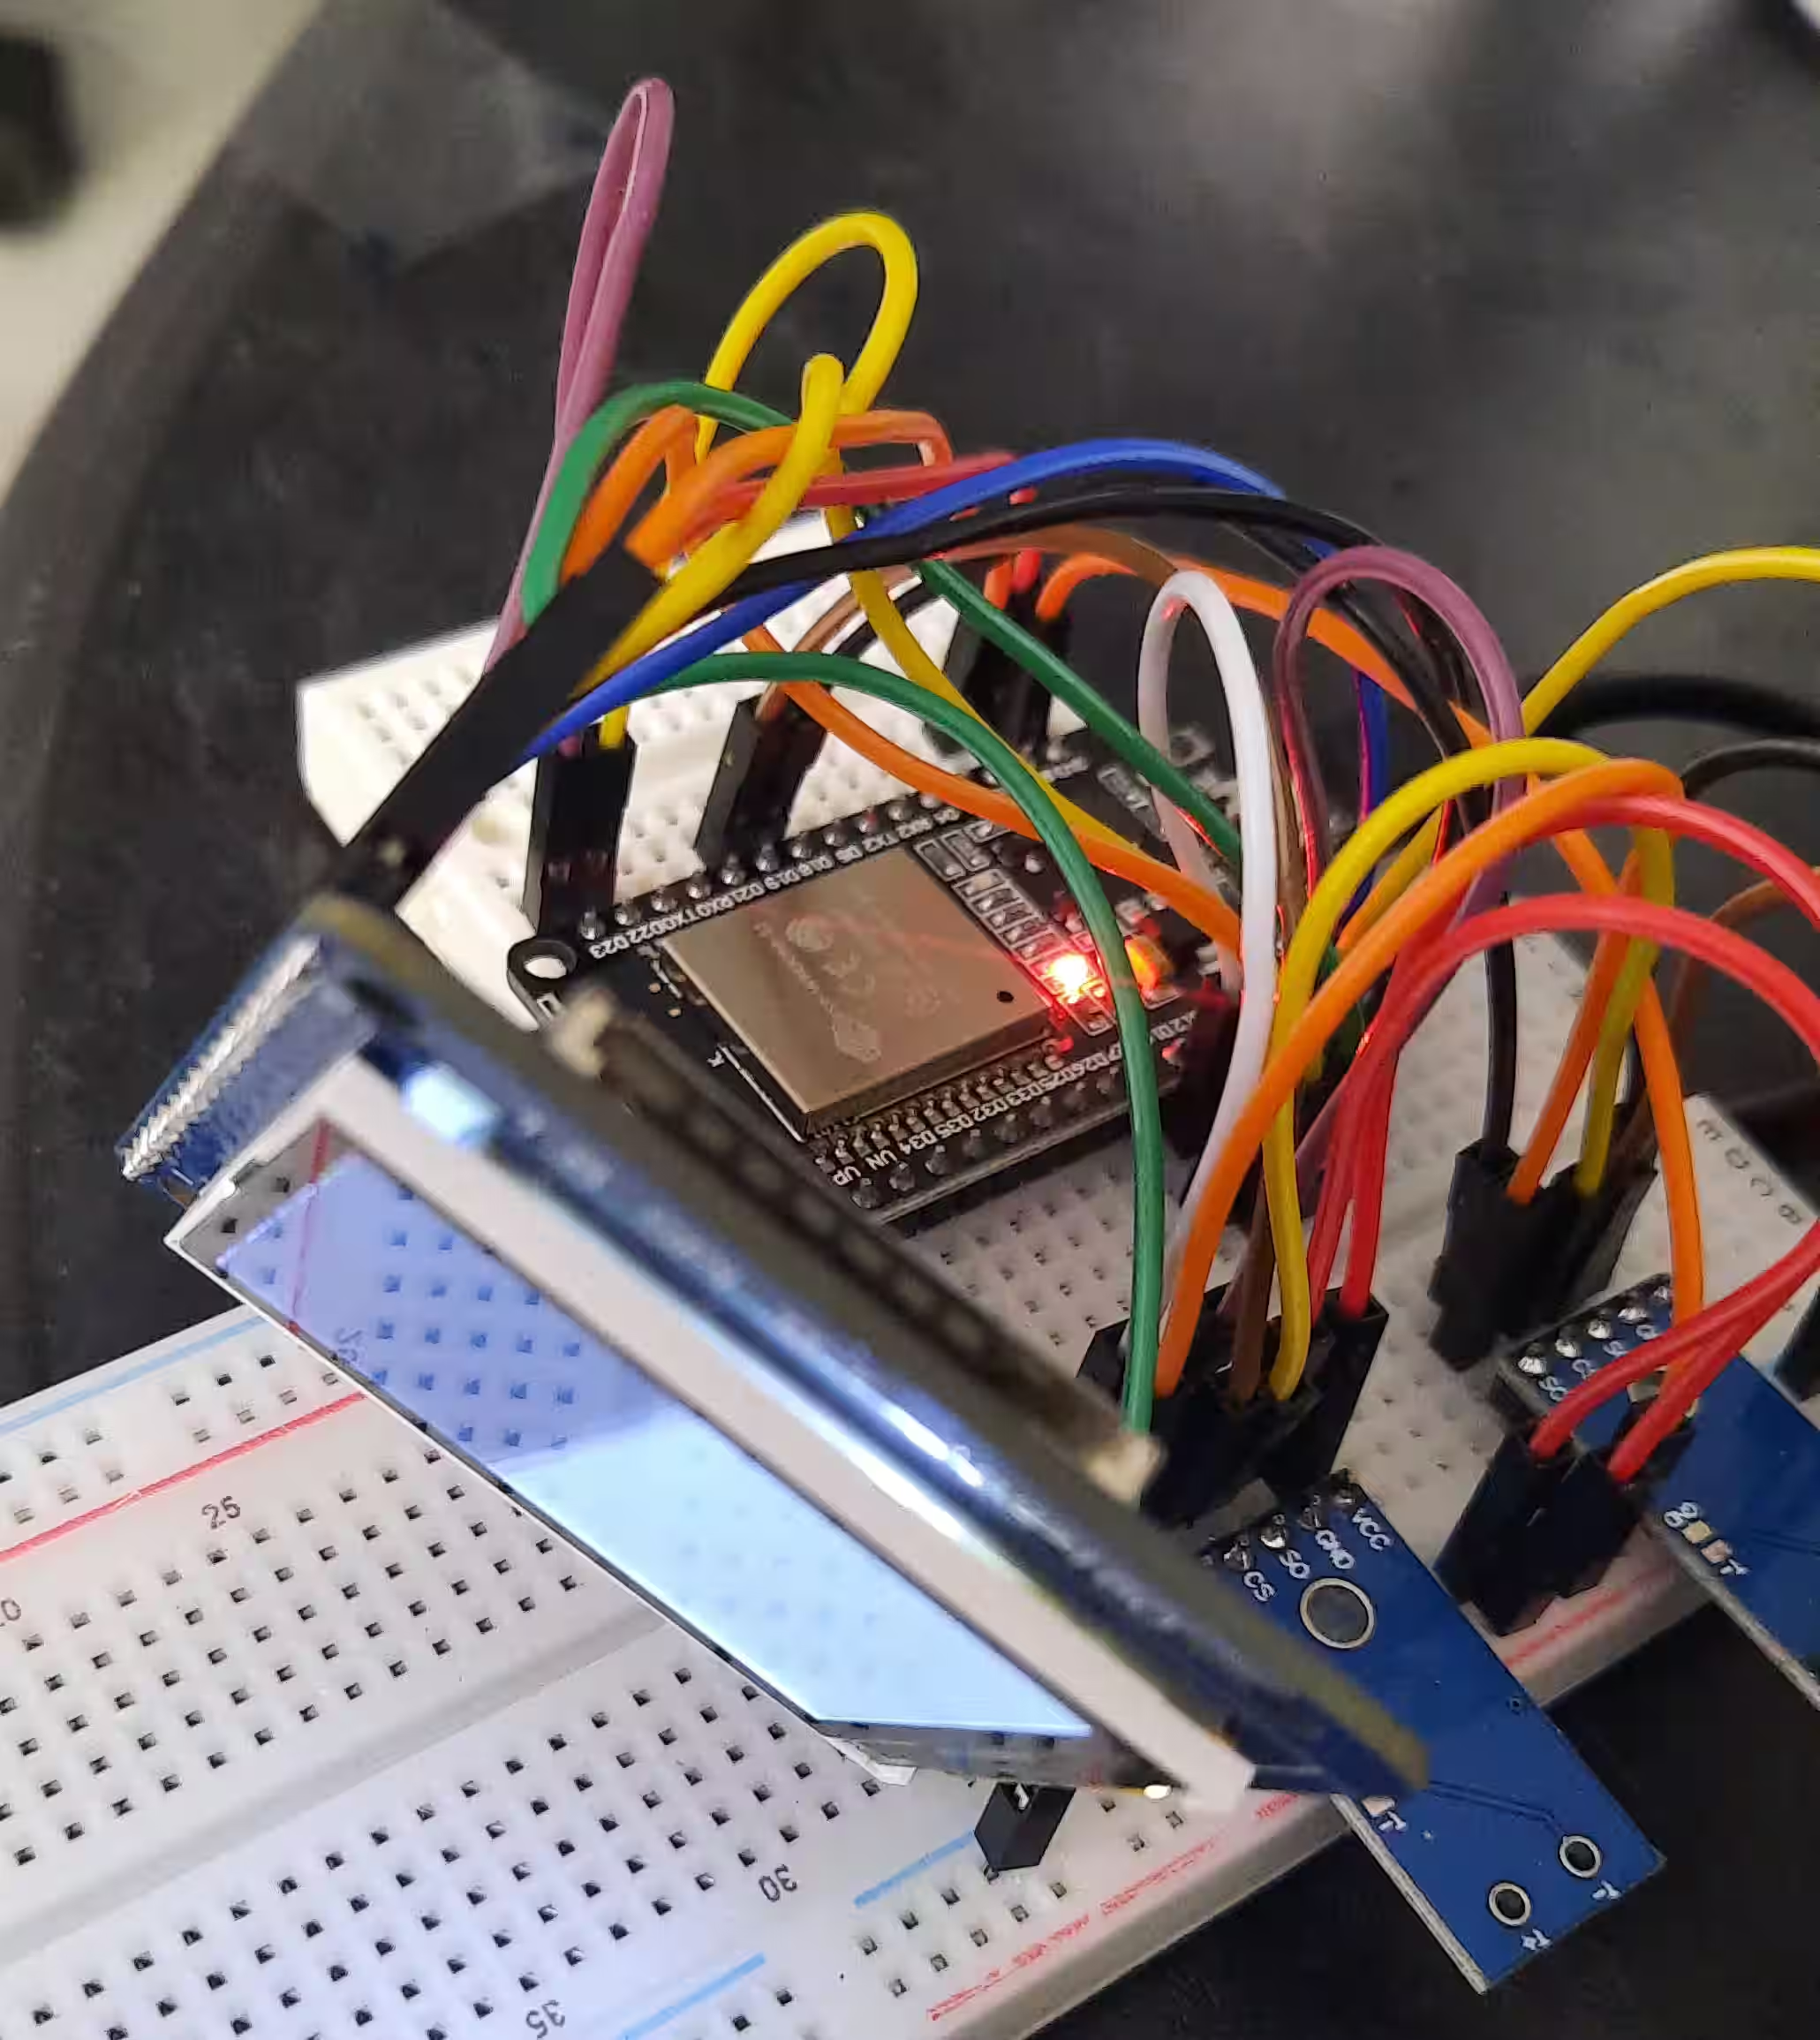
硬件连接
注意你可以在 ESP32 上使用任何引脚号;如果你使用其他引脚,确保在代码中更改它们
- 将
A0或DC(取决于你的板上存在哪个)连接到 ESP32 板上的D23。 - 将
SCL(实际上是 SPISCK- 标记为SCK的引脚只连接到 SD 卡!)连接到 ESP32 板上的D14。 - 将
SDA(实际上是 MOSI - 标记为 MOSI 的引脚只连接到 SD 卡!)连接到 ESP32 板上的D12。 - 将
CS连接到 ESP32 板上的D27。 - 将
RESET连接到 ESP32 板上的D22。 - 将
LED-连接到 ESP32 板上的GND。 - 将
VCC连接到 ESP32 板上的3V3。 - 将
LED+连接到 ESP32 板上的3V3。 - 将
Vcc连接到 ESP32 板上的3V3。
不要将任何引脚连接到 VIn 或 5V。这很容易损坏你的显示器!
PlatformIO 源代码
st7735_minimal_example.cpp
#include <Arduino.h>
#include <Adafruit_GFX.h>
#include <Adafruit_ST7735.h>

constexpr int Pin_LCD_CS = 27;
constexpr int Pin_LCD_DC = 23;
constexpr int Pin_LCD_RST = 22;
constexpr int Pin_LCD_SCLK = 14;
constexpr int Pin_LCD_MISO = 12;
constexpr int Pin_LCD_MOSI = 13;

Adafruit_ST7735 lcd(Pin_LCD_CS, Pin_LCD_DC, Pin_LCD_MOSI, Pin_LCD_SCLK,
                                 Pin_LCD_RST);

void setup() {
  lcd.initR();      // Init ST7735S chip, black tab
  lcd.enableDisplay(true);        // Enable display
}

void loop() {
  delay(500);
  lcd.fillScreen(ST7735_BLACK);
  delay(500);
  lcd.fillScreen(ST7735_WHITE);
}platformio.ini
[env:esp32dev]
platform = espressif32
board = esp32dev
framework = arduino
lib_deps =
  adafruit/Adafruit GFX Library@^1.11.5
adafruit/Adafruit ST7735 and ST7789 Library@^1.10.0Check out similar posts by category:
Arduino, PlatformIO
If this post helped you, please consider buying me a coffee or donating via PayPal to support research & publishing of new posts on TechOverflow