Frameworks

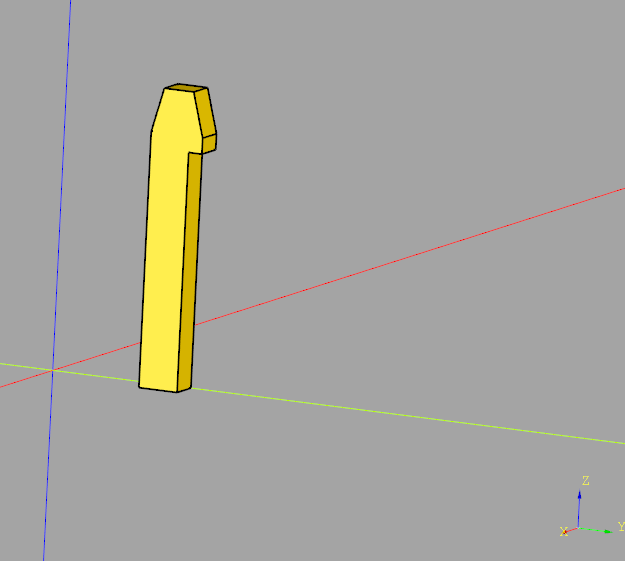
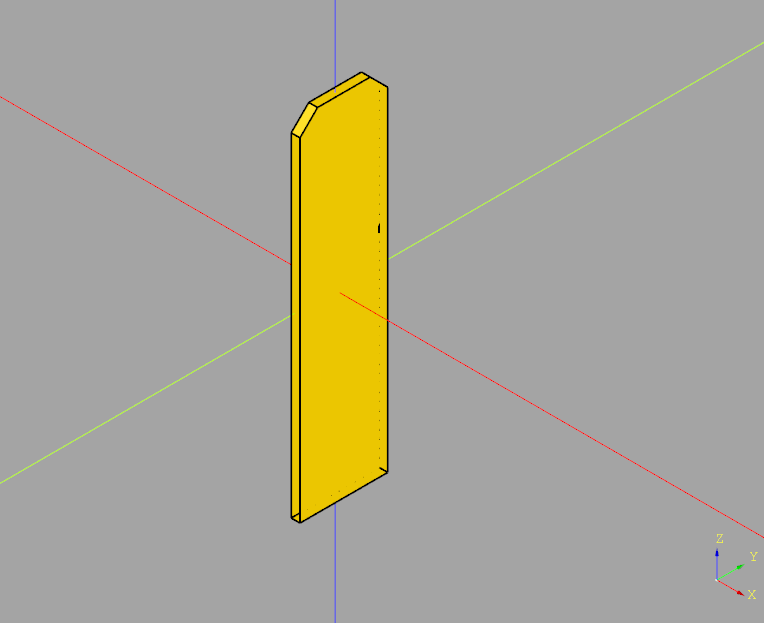
CadQuery example: Latching pin

import cadquery as cq
import math

# Set parameters
n = 2 # Number of pins
P = 3.96 # mm pin pitch
C1 = 6.8 # mm Height of bottom plate
H1 = 9.4 # mm Height of latching plate
O1 = 2 # mm Vertical offset pin-center to bottom plate border
D1 = 3.2 # mm Total depth of bottom plate
Pw = 1.14 # mm Width & height of square pin
D2 = 1.3 # mm (Measured) depth of latching plate (narrowest section)
Wx1 = 1.0 # mm (Measured) Width of the topmost part of the latching plate
Hx1 = 0.5 # mm (Measured) Height of the latching surface facing away from the pins
alpha = 90 # ° Angle of the latching surface. Shown by the datasheet as ~45°but real parts have 90°
beta = 15 # ° (Estimated) Latching plate tapering angle
WL1 = 1.27 # mm (Measured) With of the section of the bottom plate where there is no latching plate per side)
Dlatch = 1.75 # mm (Measured) Total depth of latching plate
delta = 70 # ° (Estimated) Taper angle of the pin top & bottoms
FilletRadiusBaseplate = 0.4 # mm

# Compute derived variables
A1 = ( n - 1 ) * P # Total width of all pins (center of last pin distance to center of first pin)
B1 = A1 + ( 1.95 * 2 ) # Width of bottom plate
LLatch = B1 - ( WL1 * 2 ) # Length of the latching plate
LPinTop = 7.7 + D1 # Length of the pin measured from the bottom plane to the top of the pin (away from PCB)
LPinBottom = 14.6 - LPinTop # Length of the pin in bottom direction, measured from the bottom plane
Pin1XOffset = ( ( n - 1 ) * P ) / 2 # First pin X offset measured from the X axis

# Compute asymmetric chamfer with constant angle triangle lengths
# Note: Top-facing angle of the chamfering triangle is [beta]
opposing_side = (Dlatch - Wx1) / 2 # Compute so that remaining part of latch is Wx1 wide
adjacent_side = opposing_side * (1/math.tan(math.radians(beta)))

# Start just outside the bottom plate
xstart = C1/2
xend = xstart + Dlatch
h1MinusChamfer = H1 - adjacent_side
latchPlate = (cq.Workplane("YZ")
    .sketch()
    # From bottom to start of chamfer
    .segment((xstart, 0), (xstart, h1MinusChamfer))
    # Chamfer edge
    .segment((xstart + opposing_side, H1))
    # Top side of latch (straight line) (up to begin of other side chamfer)
    .segment((xend - opposing_side, H1))
    # Chamfer edge
    .segment((xend, h1MinusChamfer))
    # move down to begin of latching surface
    .segment((xend, h1MinusChamfer - Hx1))
    # Move inwards (-X) for latching surface. NOTE: we assume 90° angle here
    # NOTE: D2 is the depth of the latching plate below the latching surface
    .segment((xstart + D2, h1MinusChamfer - Hx1))
    # From latching surface inside to bottom
    .segment((xstart + D2, 0))
    .close()
    .assemble(tag="face")
    .finalize()
    .extrude(1.0)
)
latchPlate


Posted by Uli Köhler in CadQuery, Python

CadQuery: How to fix cq.Location() error: TypeError: Expected three floats, OCC gp_, or 3-tuple

Problem

You are trying to construct a cq.Location object using code like

cq.Location(1, 2, 3)

however when you run it, you see the following error message:

File ~\AppData\Local\Packages\PythonSoftwareFoundation.Python.3.9_qbz5n2kfra8p0\LocalCache\local-packages\Python39\site-packages\cadquery\occ_impl\geom.py:1011, in Location.__init__(self, *args)
   1008 else:
   1009     t, ax, angle = args
   1010     T.SetRotation(
-> 1011         gp_Ax1(Vector().toPnt(), Vector(ax).toDir()), angle * math.pi / 180.0
   1012     )
   1013     T.SetTranslationPart(Vector(t).wrapped)
   1015 self.wrapped = TopLoc_Location(T)

File ~\AppData\Local\Packages\PythonSoftwareFoundation.Python.3.9_qbz5n2kfra8p0\LocalCache\local-packages\Python39\site-packages\cadquery\occ_impl\geom.py:91, in Vector.__init__(self, *args)
     89         fV = gp_Vec(args[0])
     90     else:
---> 91         raise TypeError("Expected three floats, OCC gp_, or 3-tuple")
     92 elif len(args) == 0:
     93     fV = gp_Vec(0, 0, 0)

TypeError: Expected three floats, OCC gp_, or 3-tuple

Solution:

Don’t pass three separate parameters to cq.Location() – pass a tuple with three numbers by adding an additional set of braces:

cq.Location((1, 2, 3))


Posted by Uli Köhler in CadQuery, Python

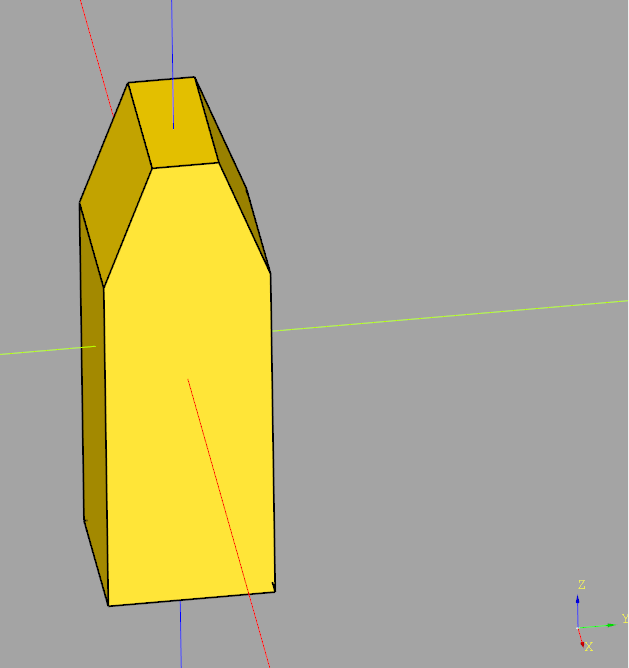
CadQuery: Asymmetric chamfer minimal example

import cadquery as cq

obj = cq.Workplane("XY").box(1,1,3)
# Add chamfer to only the top face edges parallel to the X axis
obj = obj.faces("+Z").edges("|X").chamfer(0.8, 0.3)
obj

Posted by Uli Köhler in CadQuery, Python

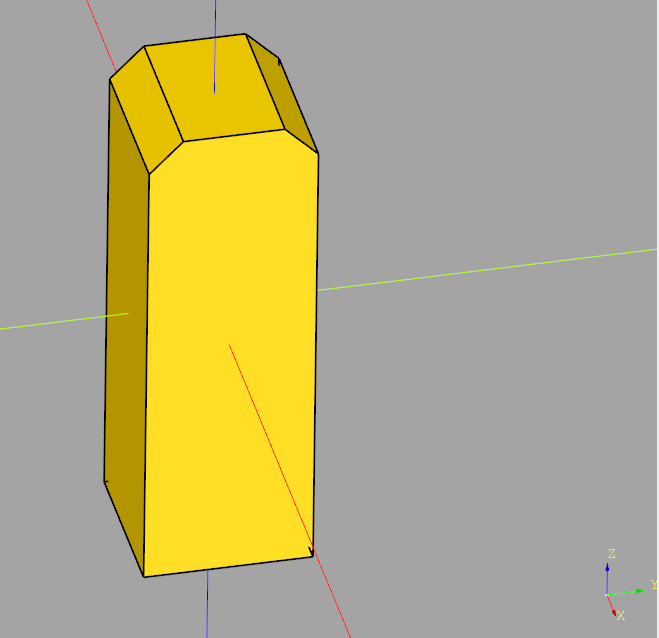
CadQuery: How to chamfer only two opposing edges of top face

import cadquery as cq

obj = cq.Workplane("XY").box(1,1,3)
# Add chamfer to only the top face edges parallel to the X axis
obj = obj.faces("+Z").edges("|X").chamfer(0.2)
obj

Posted by Uli Köhler in CadQuery, Python

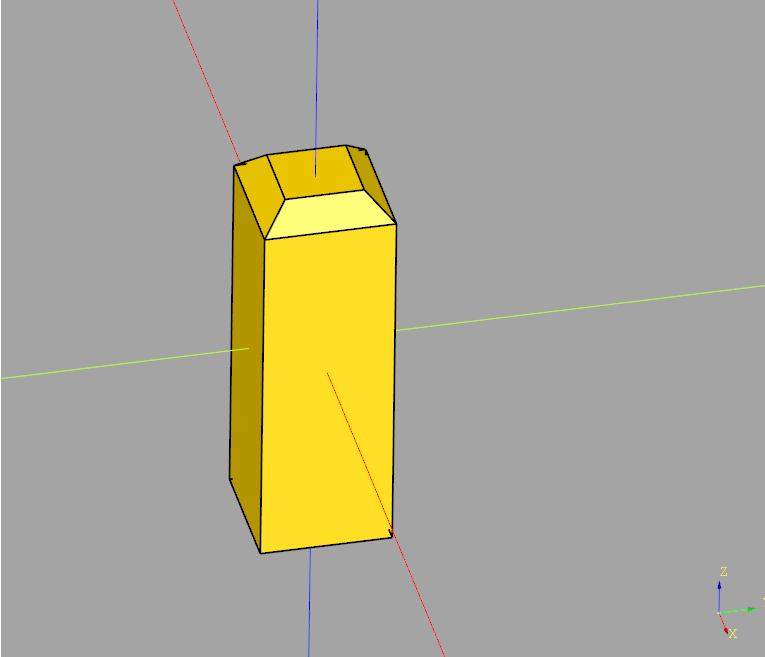
CadQuery: How to chamfer top face of object

import cadquery as cq

obj = cq.Workplane("XY").box(1,1,3)
# Add chamfer to all top face edges
obj = obj.faces("+Z").chamfer(0.2)
obj

Posted by Uli Köhler in CadQuery, Python

CadQuery: Chamfer in sketch minimal example

This code chamfers the top side of a sketch rectangle, which is then extruded

import cadquery as cq

obj = (cq.Workplane("YZ")
    .sketch()
    .rect(1,4)
    # Select vertices to chamfer
    .vertices(">Y") # Top of local Y coordinate system (which is Z axis)
    .chamfer(0.2)
    .finalize()
    .extrude(0.1)
)
obj

Posted by Uli Köhler in CadQuery, Python

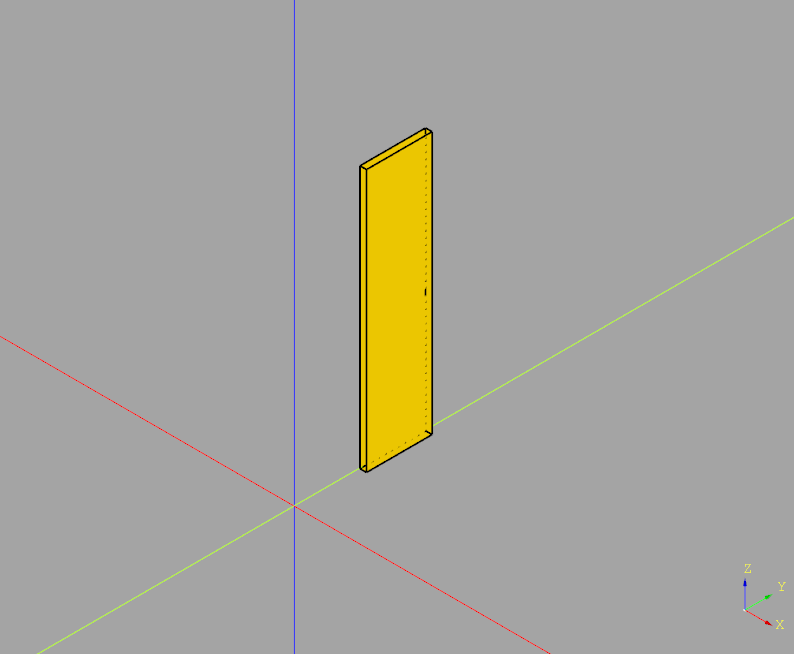
CadQuery minimal sketch from segment() lines example

This code creates a sketch from four segment lines forming a rectangle (given the four sets of X/Y coordinates). The segments are then assembled into a face and extruded.

import cadquery as cq

xstart = 1.0
height = 4.0
width = 1.0
obj = (cq.Workplane("YZ")
    .sketch()
    .segment((xstart, 0), (xstart, height))
    .segment((xstart + width, height))
    .segment((xstart + width, 0))
    .close()
    .assemble(tag="face")
    .finalize()
    .extrude(0.1)
)
obj

Posted by Uli Köhler in CadQuery, Python

CadQuery sketch: How to move to different location

In order to move to a certain position in a CadQuery sketch, use .push(cq.Location(...))

Full example

import cadquery as cq

# Create workplane (2d coordinate system for us to create the sketch in)
wp = cq.Workplane("XY")
# Create sketch
result = wp.sketch().push(cq.Location((1,0.5,0))).rect(1,1).finalize().extrude(0.1)

result # This line is just to show the result in cq-editor or jupyter

Posted by Uli Köhler in CadQuery, Python

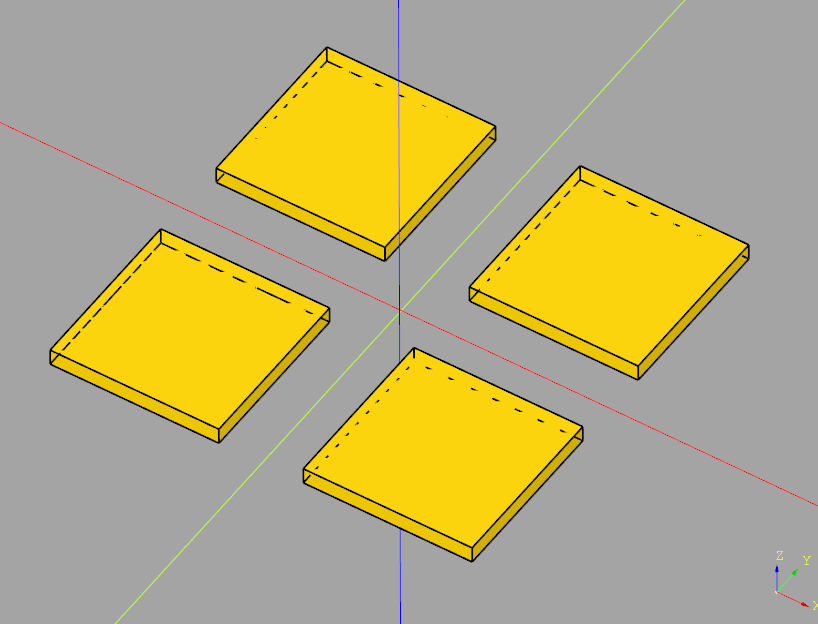
CadQuery minimal rectangular array (rarray) example

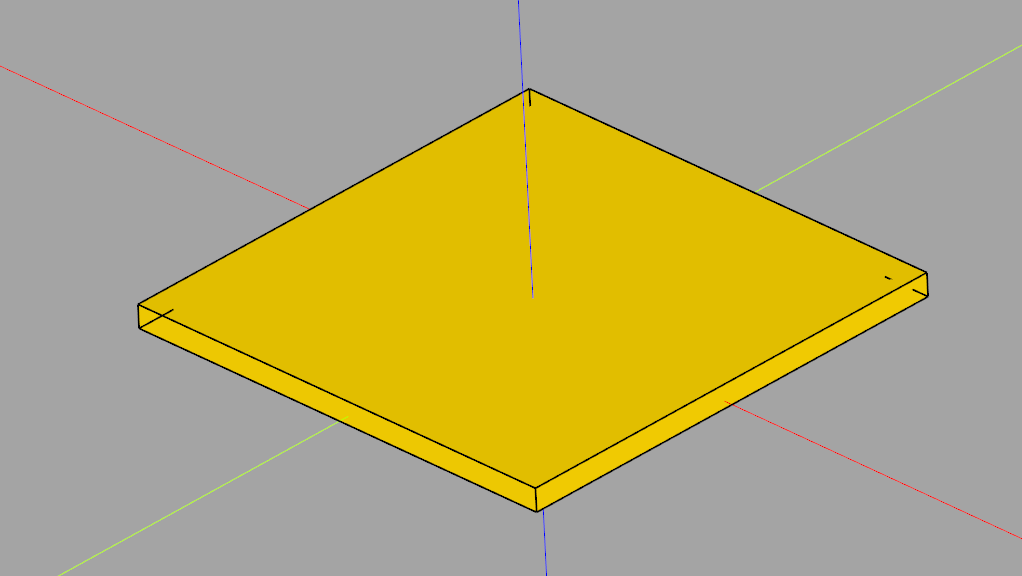
This example generates a 2x2 grid of 1x1mm rectangles in a sketch, then extrudes it

import cadquery as cq

# Create workplane (2d coordinate system for us to create the sketch in)
wp = cq.Workplane("XY")
# Create sketch & extrude
result = wp.sketch().rarray(
    1.5, # X distance between center points of rectangles
    1.5, # Y distance between center points of rectangles
    2, # Number of rectangles in X direction
    2 # Number of rectangles in Y direction
).rect(1,1).finalize().extrude(0.1)

result # This line is just to show the result in cq-editor or jupyter

Posted by Uli Köhler in CadQuery, Python

CadQuery: How to move/translate extruded sketch

In our previous example CadQuery minimal sketch extrude example we showed how to create and extrude a simple sketch.

You can translate this easily using

result = result.translate(cq.Vector(1,0,0))

Full example

import cadquery as cq

# Create workplane (2d coordinate system for us to create the sketch in)
wp = cq.Workplane("XY")
# Create sketch, create rect, close sketch and extrude the resulting face
result = wp.sketch().rect(2, 2).finalize().extrude(0.1)
result = result.translate(cq.Vector(1,0,0))

result # This line is just to show the result in cq-editor or jupyter

Posted by Uli Köhler in CadQuery, Python

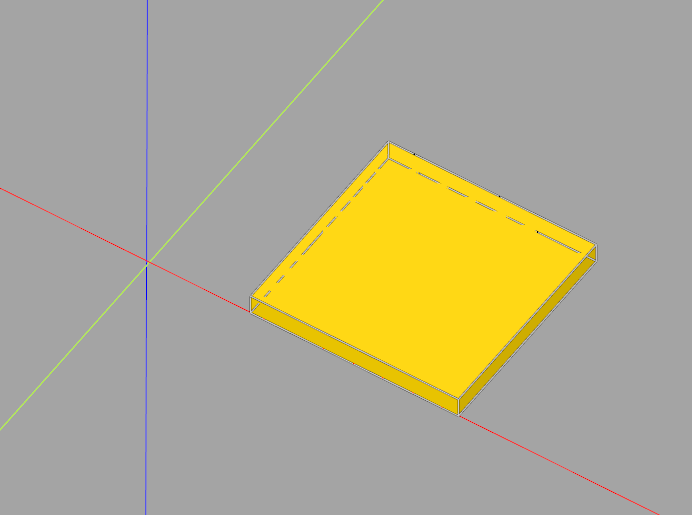
CadQuery minimal sketch extrude example

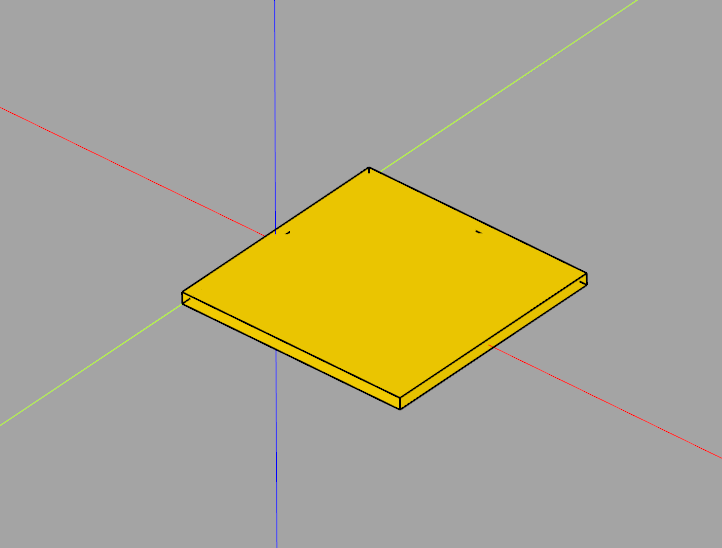
The folllowing example creates a sketch in the XY plane, creates a 2x2mm rectangle in said sketch and extrudes it to a height of 0.1mm.

import cadquery as cq

# Create workplane (2d coordinate system for us to create the sketch in)
wp = cq.Workplane("XY")
# Create sketch, create rect, close sketch and extrude the resulting face
result = wp.sketch().rect(2, 2).finalize().extrude(0.1)

result # This line is just to show the result in cq-editor or jupyter

Posted by Uli Köhler in CadQuery, Python

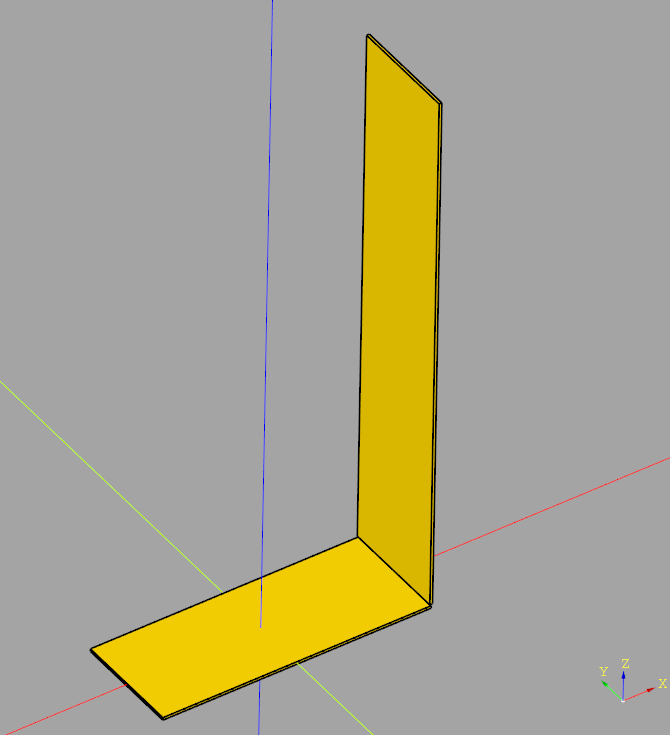
CadQuery simple L-shaped piece example (with STEP export)

import cadquery as cq

# Define dimensions
base_length = 200  # 20cm
base_width = 80    # 8cm
plate_thickness = 2  # 2mm
upright_height = 400  # 40cm

# Create the base plate
base_plate = cq.Workplane("XY").box(base_length, base_width, plate_thickness)

# Create the upright plate
# Position is set such that it aligns with the end of the base plate and stands upright
upright_plate = cq.Workplane("XY").workplane(offset=plate_thickness).transformed(rotate=(0, 90, 0)).box(upright_height, base_width, plate_thickness).translate((base_length/2, 0, upright_height/2))

# Join the two parts into one
final_part = base_plate.union(upright_plate)

# Export to STEP
final_part.val().exportStep("L-piece.stp")


Posted by Uli Köhler in CadQuery, Python

How to force-reinstall WordPress plugin using wpcli (with or without Docker)

Without docker:

wpcli wp plugin install [plugin-name] --force

With docker:

docker-compose exec -e HOME=/tmp --user 33:33 wpcli wp plugin install [plugin-name] --force


Posted by Uli Köhler in Wordpress

How to fix docker wpcli Warning: Failed to create directory “/var/www/html/wp-content/upgrade/…”

Problem:

When trying to update a plugin or similar action using the wordpress:cli wpcli docker image, for example using a command such as

docker-compose exec wpcli wp plugin update google-sitemap-generator

you see an error message such as

Warning: Failed to create directory. "/var/www/html/wp-content/upgrade/google-sitemap-generator.4.1.16"
+--------------------------+-------------+-------------+--------+
| name                     | old_version | new_version | status |
+--------------------------+-------------+-------------+--------+
| google-sitemap-generator | 4.1.13      | 4.1.16      | Error  |
+--------------------------+-------------+-------------+--------+
Error: No plugins updated (1 failed).

Solution:

This error occurs because the wordpress image (without :cli!) is based on Debian and the wordpress:cli image is based on Alpine Linux. Debian uses the UID 33 for the www-data user whereas Alpine Linux uses 83. So to fix the permission problem, you need to force the cli image to use 33:

This is documented on the wordpress docker page.

docker-compose exec -e HOME=/tmp --user 33:33 wpcli wp plugin update google-sitemap-generator


Posted by Uli Köhler in Docker, Wordpress

How to check WordPress site integrity using wpcli

Check the integrity of the WordPress core:

wp core verify-checksums

Check the integrity of all plugins:

wp plugin verify-checksums --all

docker-compose variant

docker-compose exec wpcli wp core verify-checksums
docker-compose exec wpcli wp plugin verify-checksums --all


Posted by Uli Köhler in Wordpress

How to check database connection using wpcli

wpcli wp db check

Or, with docker-compose, if you have a wpcli container:

docker-compose exec wpcli wp db check

Example output:

wordpress.wp_commentmeta                           OK
wordpress.wp_comments                              OK
wordpress.wp_icl_content_status                    OK
wordpress.wp_icl_core_status                       OK
wordpress.wp_icl_flags                             OK
wordpress.wp_icl_languages                         OK
wordpress.wp_icl_languages_translations            OK
wordpress.wp_icl_locale_map                        OK
wordpress.wp_icl_message_status                    OK
wordpress.wp_icl_mo_files_domains                  OK
wordpress.wp_icl_node                              OK
wordpress.wp_icl_reminders                         OK
wordpress.wp_icl_string_batches                    OK
wordpress.wp_icl_string_packages                   OK
wordpress.wp_icl_string_pages                      OK
wordpress.wp_icl_string_positions                  OK
wordpress.wp_icl_string_status                     OK
wordpress.wp_icl_string_translations               OK
wordpress.wp_icl_string_urls                       OK
wordpress.wp_icl_strings                           OK
Success: Database checked.


Posted by Uli Köhler in Wordpress

How to fix WPCLI Error: Role doesn’t exist: admin

Problem:

While trying to create a user using wpcli using a command such as

wp user create uli [email protected] --role=admin --user_pass=abc123abc

you see the following error message:

Error: Role doesn't exist: admin

Solution:

Run

wp role list

to list all roles. By default, these roles are:

+---------------+---------------+
| name          | role          |
+---------------+---------------+
| Administrator | administrator |
| Editor        | editor        |
| Author        | author        |
| Contributor   | contributor   |
| Subscriber    | subscriber    |
| SEO Manager   | wpseo_manager |
| SEO Editor    | wpseo_editor  |
+---------------+---------------+

You have to use the value from the second column in the wp user create command.

For example, in order to create an admin user, use --role=administrator, e.g.:

wp user create uli [email protected] --role=administrator --user_pass=abc123abc


Posted by Uli Köhler in Wordpress

How I fixed WordPress category page title: Category <span>…</span>

One one of my WordPress sites, the title of category pages was literally

Category <span>My category</span>

Searching through the theme source code didn’t yield a solution quickly, so I added this custom JS using a plugin:

jQuery(document).ready(function( $ ){
    if(jQuery("h1.page-title").text().includes("Category: <span>")) {
        var input = jQuery("h1.page-title").text();
        var output = /<span>(.*)<\/span>/g.exec(input)[1];
        jQuery("h1.page-title").text(output);
    }
});

This will just replace the title by the content of the span tag. You might need to adjust the CSS classes for your theme.

Posted by Uli Köhler in Javascript, Wordpress

InvenTree Traefik reverse proxy container labels

This post is based on How to install InvenTree using docker in just 5 minutes and uses the auto-generated docker-compose.yml from there. However it should be useable for almost any setup.

The setup is pretty standard since the inventree proxy container runs the webserver on port 80. Therefore, you don’t even have to explicitly specify a load balancer port

In your docker-compose.yml, add the following labels to the inventree-proxy container:

Wildcard certificate setup:

For more details on the base Traefik setup, see Simple Traefik docker-compose setup with Lets Encrypt Cloudflare DNS-01 & TLS-ALPN-01 & HTTP-01 challenges

labels:
    - "traefik.enable=true"
    - "traefik.http.routers.inventree-mydomain.rule=Host(`inventree.mydomain.com`)"
    - "traefik.http.routers.inventree-mydomain.entrypoints=websecure"
    - "traefik.http.routers.inventree-mydomain.tls.certresolver=cloudflare"
    - "traefik.http.routers.inventree-mydomain.tls.domains[0].main=mydomain.com"
    - "traefik.http.routers.inventree-mydomain.tls.domains[0].sans=*.mydomain.com"


Posted by Uli Köhler in InvenTree, Traefik